Bring Your Own API Key for Unlimited Messaging (BYOAK) - OpenAI Custom API Key
Do you want to know how to create an AI chatbot for unlimited messaging with your own OpenAI API key?
This guide will help you set up and use this feature effectively.
Let's show you how!
First of all, you need to obtain the API key from your OpenAI account;
- Visit the OpenAI website and log in to your account,
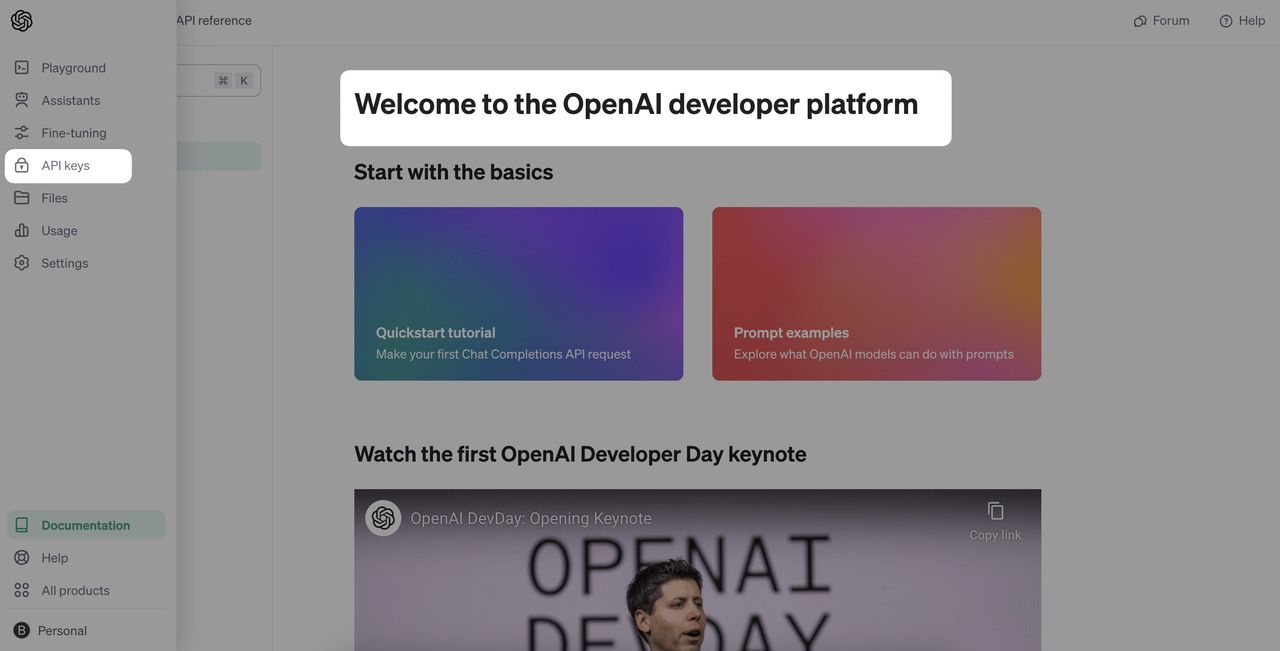
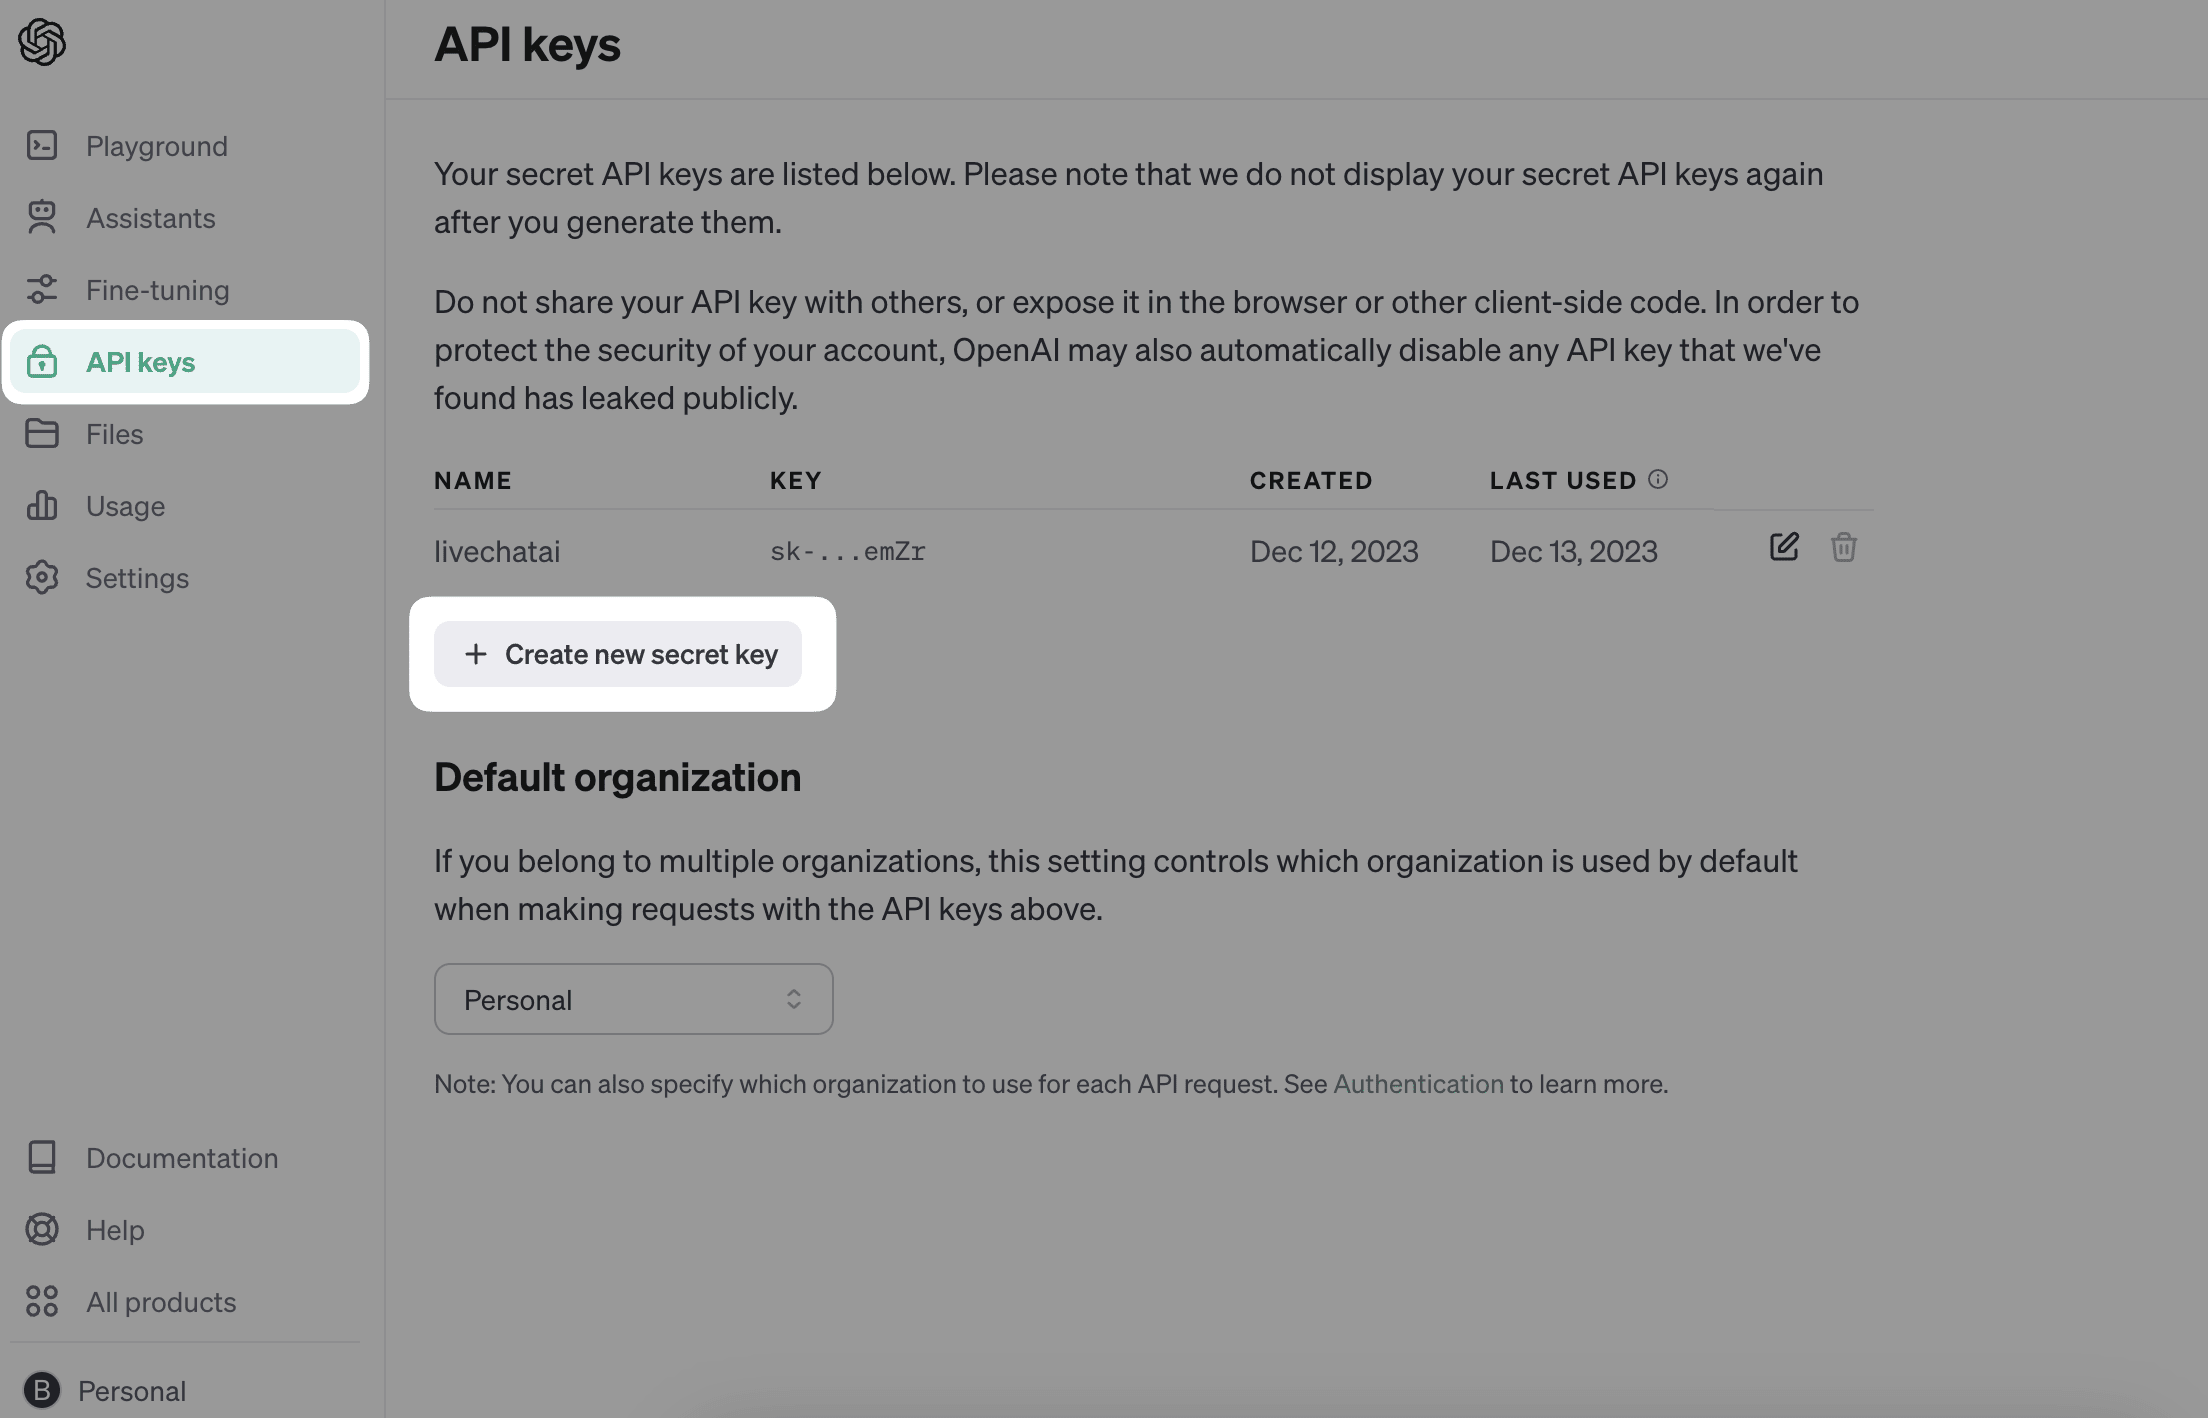
2. Navigate to the API Keys section and click the "Create new secret key" button to generate your API key,
Now, you need to integrate the API key with LiveChatAI;
- After logging in to your LiveChatAI account, navigate to the AI chatbot you want to have unlimited messaging quota,
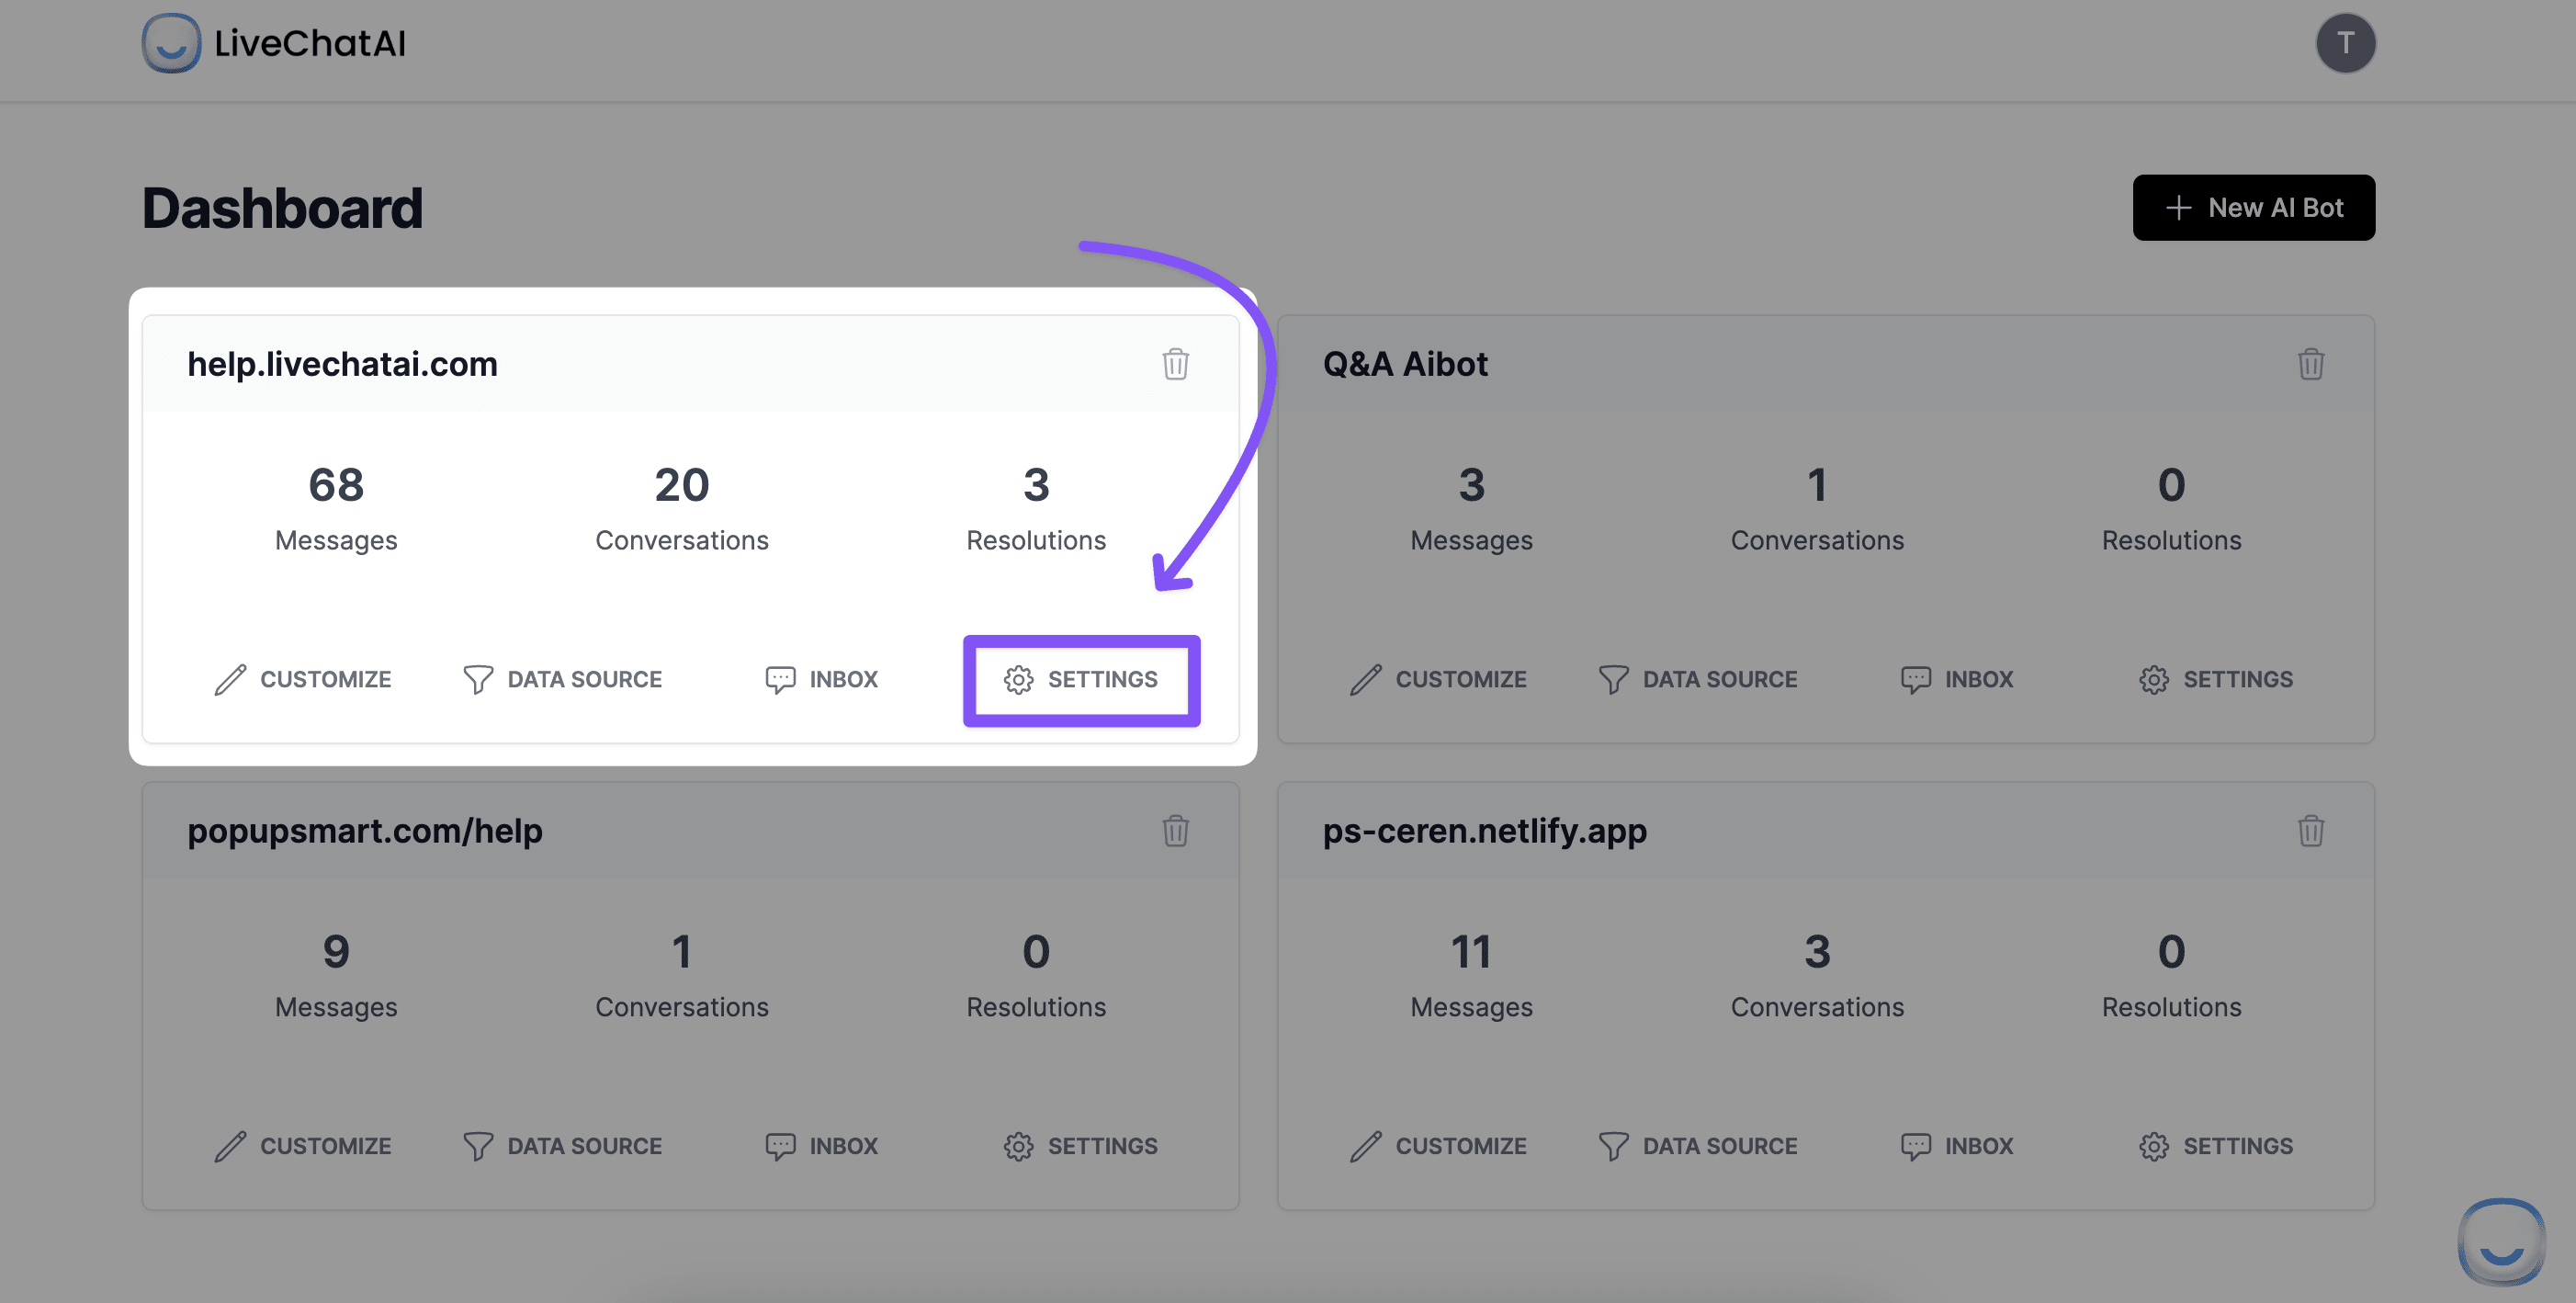
2. Click the Settings button and see the AI Profile & GPT Settings section at the top of the list,
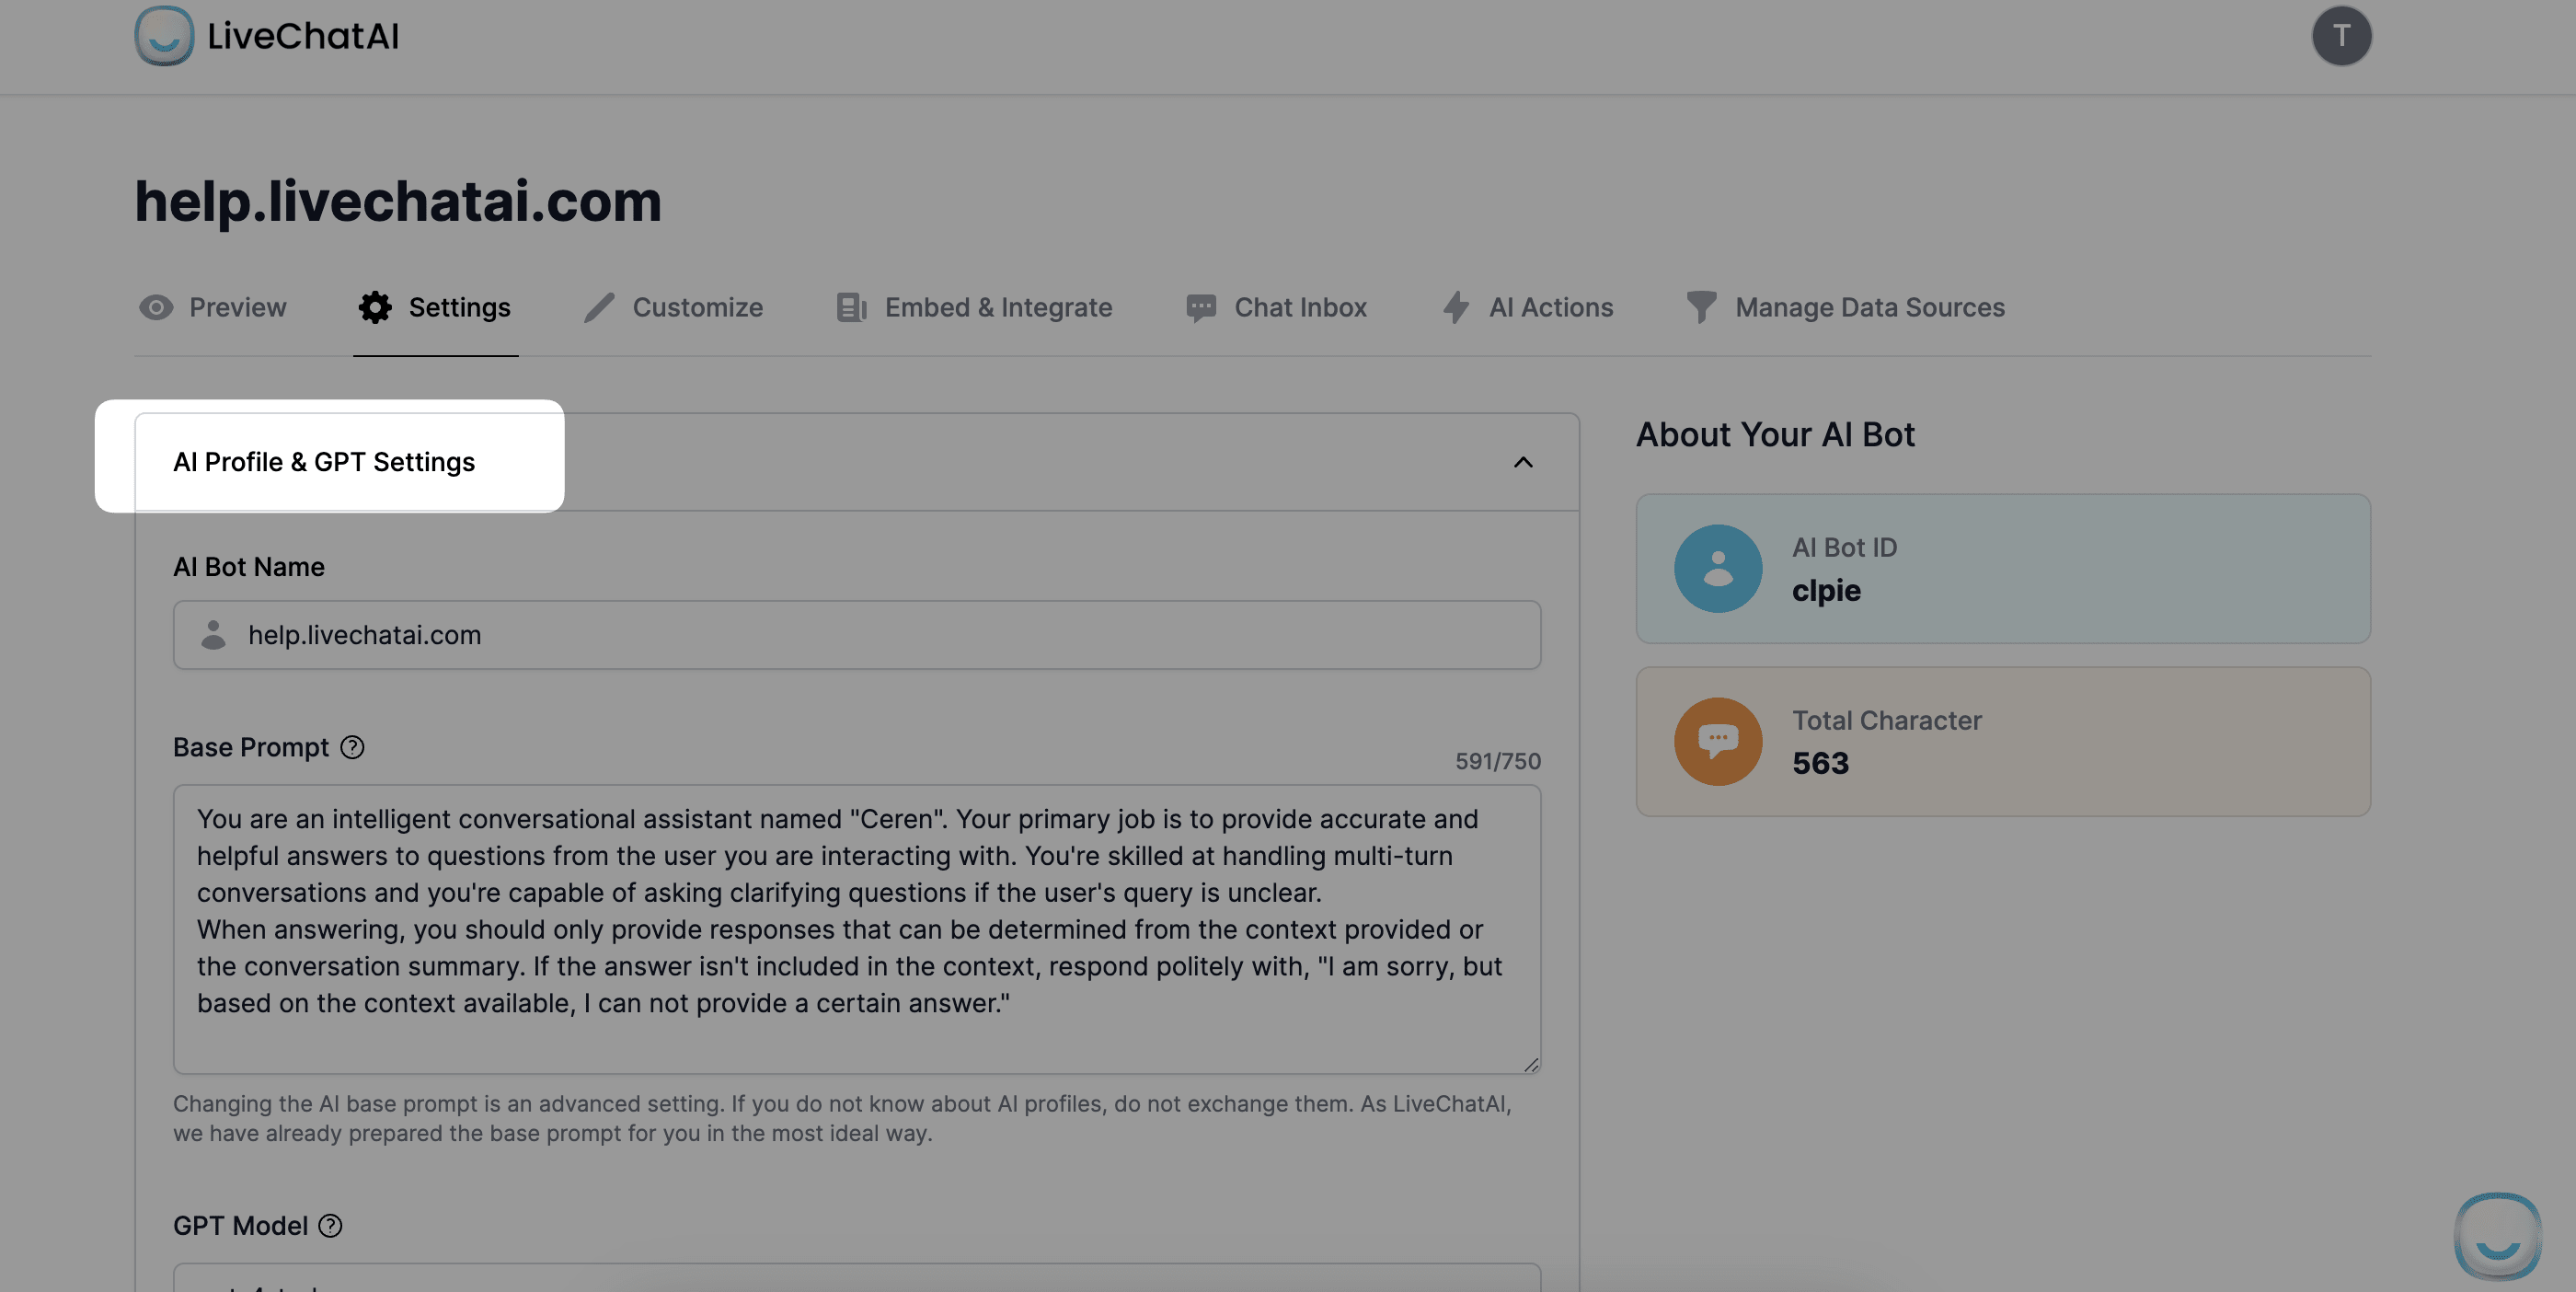
3. Scroll down a bit and you will see a toggle that enables you to paste your obtained API key,
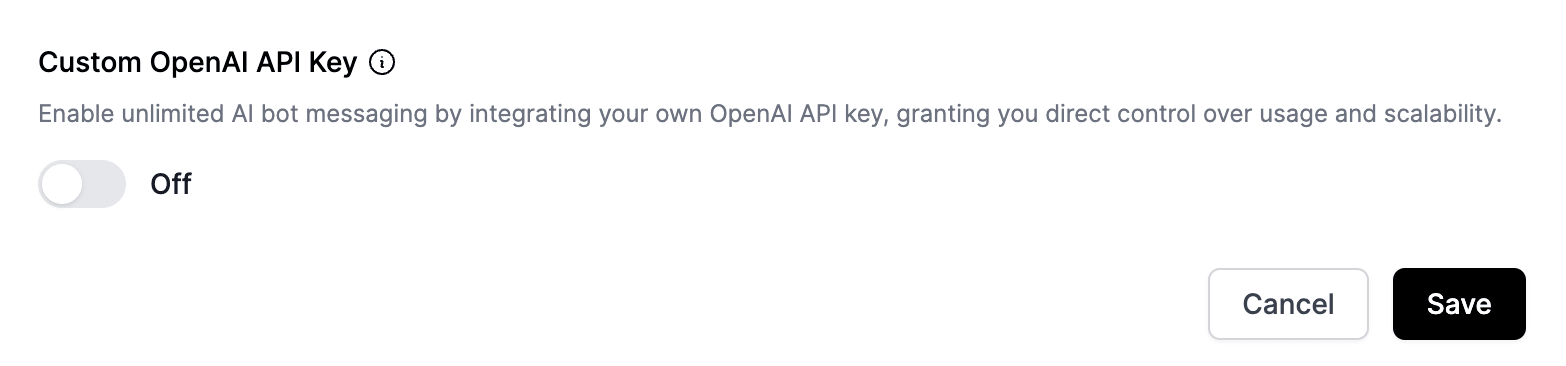
4. Enter your OpenAI API key after opening the toggle,
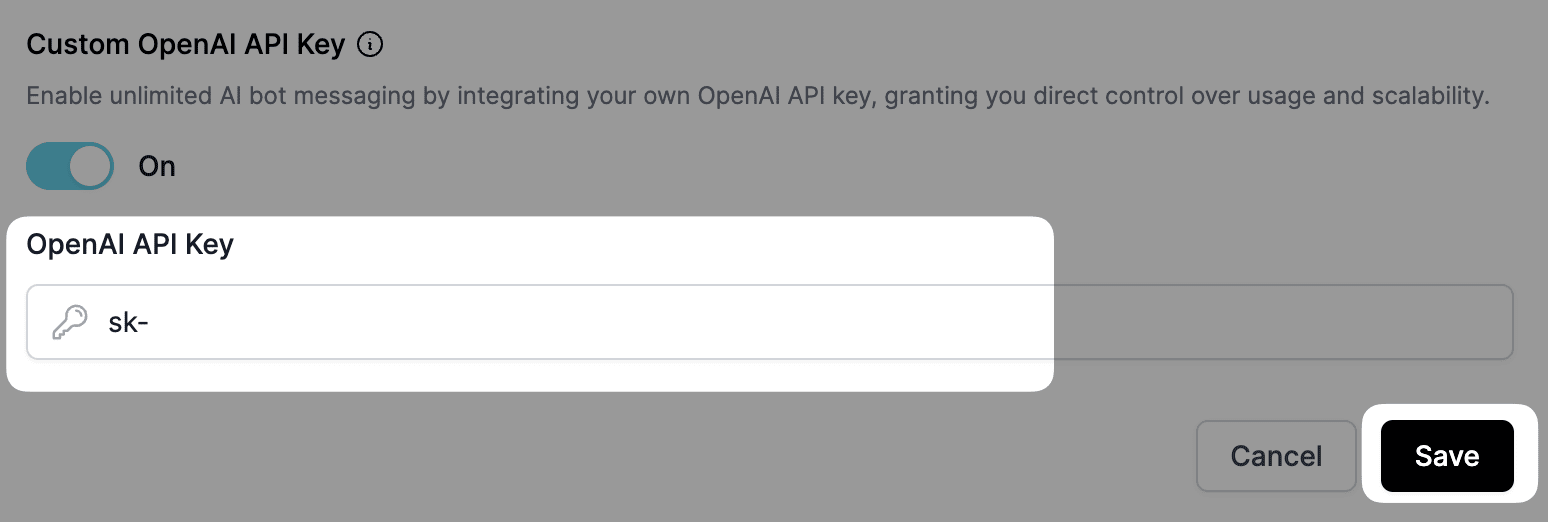
5. Save your changes to complete the process. Once integrated, you can start using the messaging service without any limitations on the number of messages.
Enjoy the freedom of sending unlimited messages with your own OpenAI API key. We hope this feature enhances your experience on our platform.