Messenger Widget Time Display Scheduling Settings
The Messenger Widget's Time Scheduling feature in LiveChatAI provides the flexibility to display or hide the messenger on your website according to specific times or working hours.
This allows you to align the availability of the messenger with your business operations or support team's availability.
How to Use the Time Display Scheduling Feature
Here's a step-by-step guide to setting up the Time Display Scheduling feature:
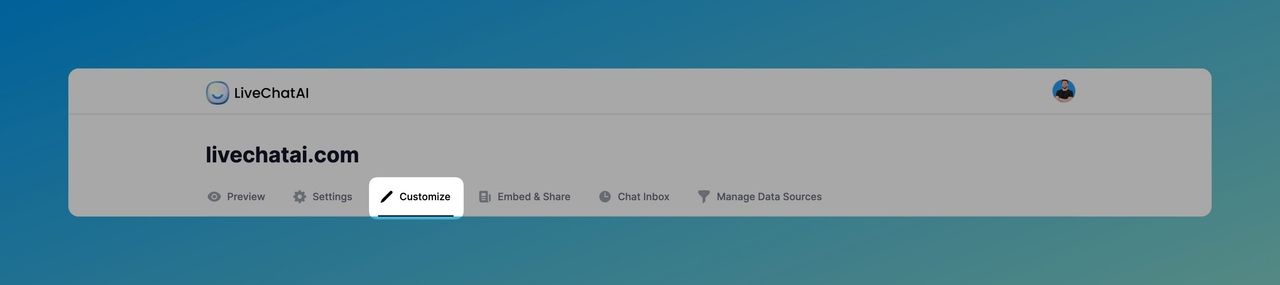
1. Navigate to Customize Tab.
Access the "Customize" section from your LiveChatAI campaign.
2. Select Messenger Widget and Scroll down for Time Display Scheduling.
Locate the "Time Display Scheduling" option in the settings menu.
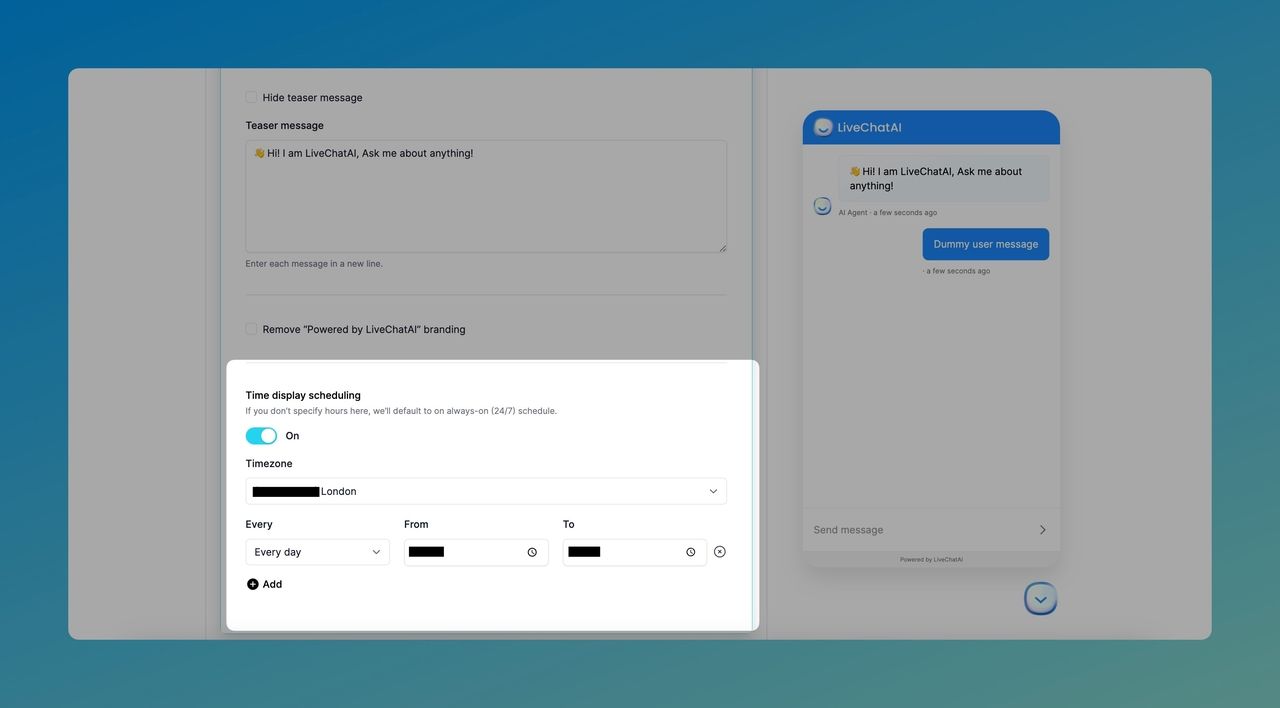
3. Choose the Desired Time Frame
You can select specific start and end times for the messenger to be displayed or choose predefined working hours that align with your business's operational hours.
Considerations and Benefits
- Alignment with Working Hours: Ensure that the messenger is available to customers during the hours when support staff is on hand to assist.
- Avoid Off-Hours Interactions: Prevent unnecessary interactions during non-working hours when immediate support may not be available.
- Customizable: Tailor the scheduling according to your unique needs, whether it's different hours on different days or seasonal adjustments.
The Messenger Time Display Scheduling feature in LiveChatAI offers a convenient way to control when the chat messenger is visible on your website.
By aligning the availability of the messenger with your working hours, you provide a better experience for your customers and manage expectations for support availability.
For additional information or support with setting up the Time Display Scheduling feature, please contact our support team.