Calendly AI Action
With the Calendly AI Action, your chatbot can instantly show available booking slots and help users schedule a meeting, without leaving the chat.
It’s ideal for product demos, consultations, or any customer-facing appointment.
What It Does
Once connected, the Calendly AI Action enables your chatbot to:
- Retrieve available time slots from your Calendly account
- Display a booking interface inside the chat
- Trigger this action automatically when certain keywords are mentioned (like “book a meeting” or “schedule demo”)
How to Create a Calendly AI Action
Follow these steps to connect your Calendly account and build the action:
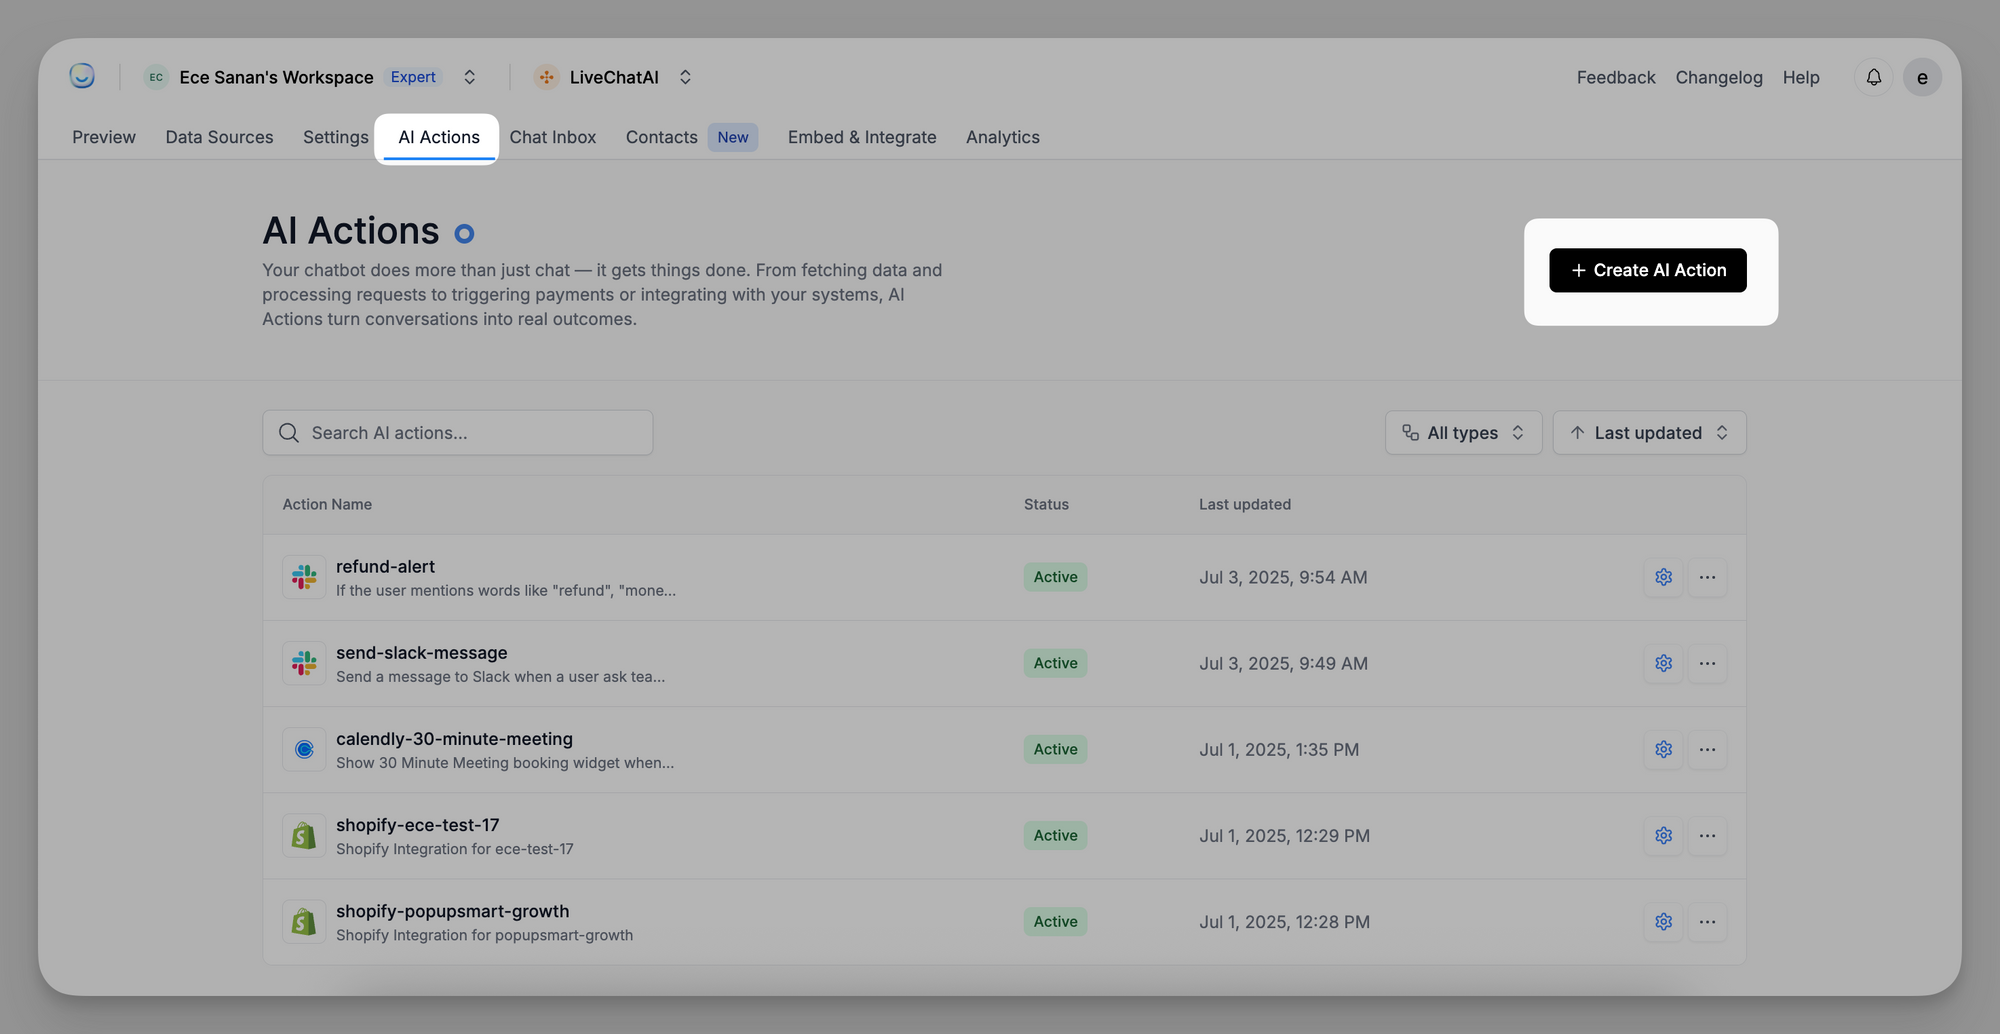
1. Go to AI Actions
Navigate to the AI Actions tab from your main dashboard and click + Create AI Action.
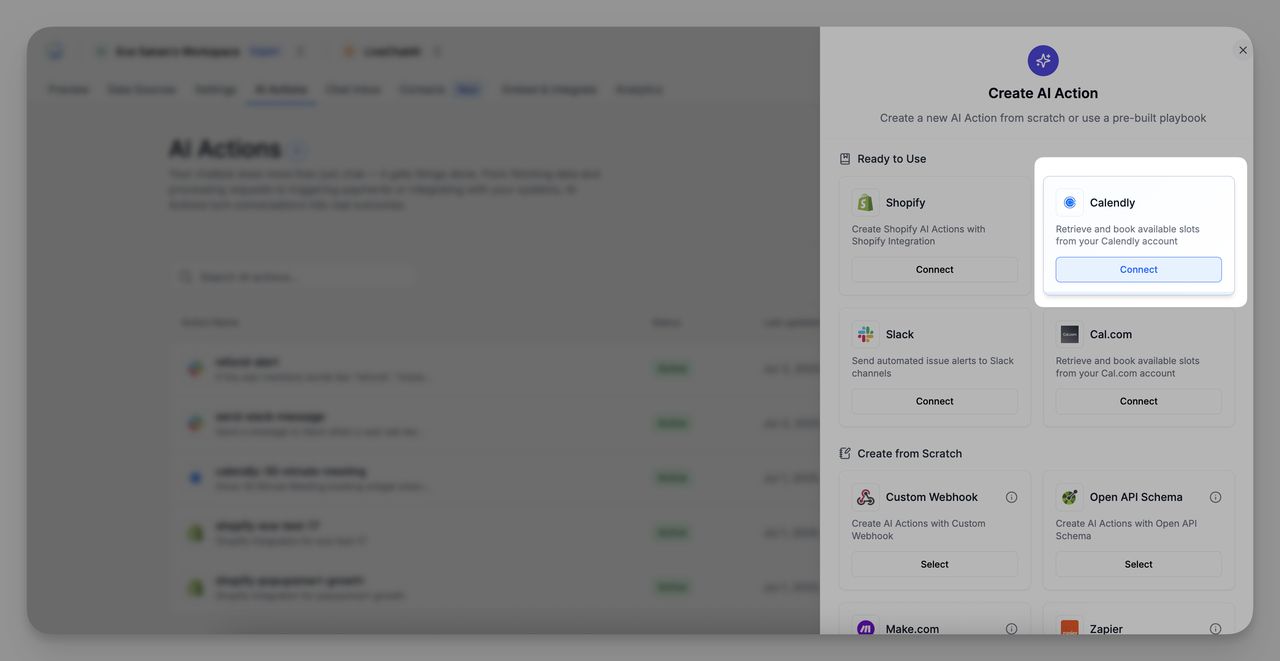
2. Select Calendly
Under the “Ready to Use” section, choose Calendly and click Connect.
3. Choose or Add a Calendly Account
You’ll see any existing Calendly accounts connected to your workspace. If needed, click + Add New Calendly Account and follow the prompt to authorize access.
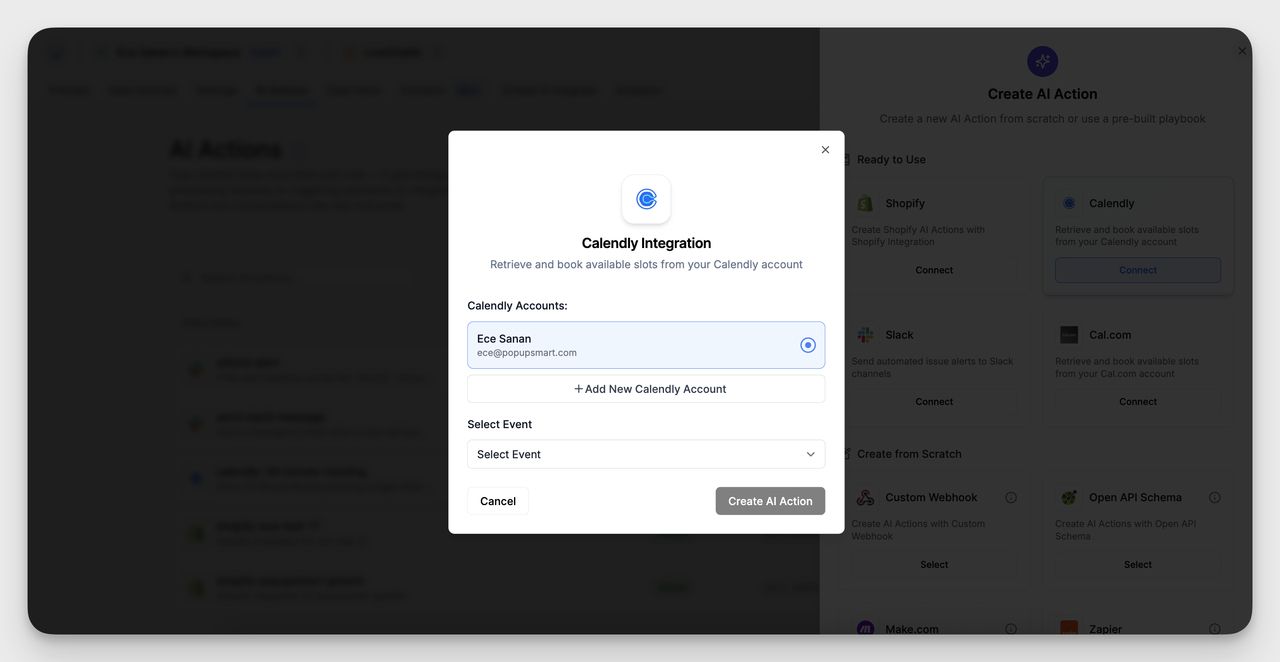
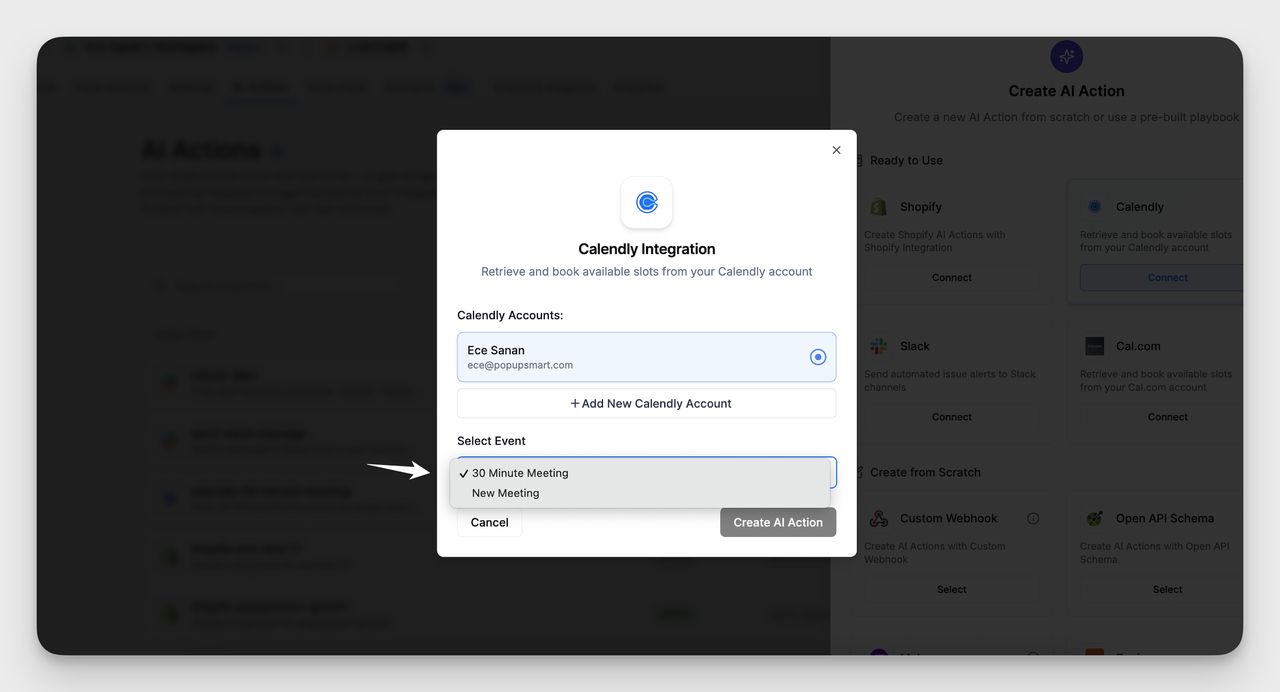
4. Select the Event to Use
After selecting your account, pick the specific event type (e.g. “LiveChatAI Product Demo”) that the chatbot should offer for booking.
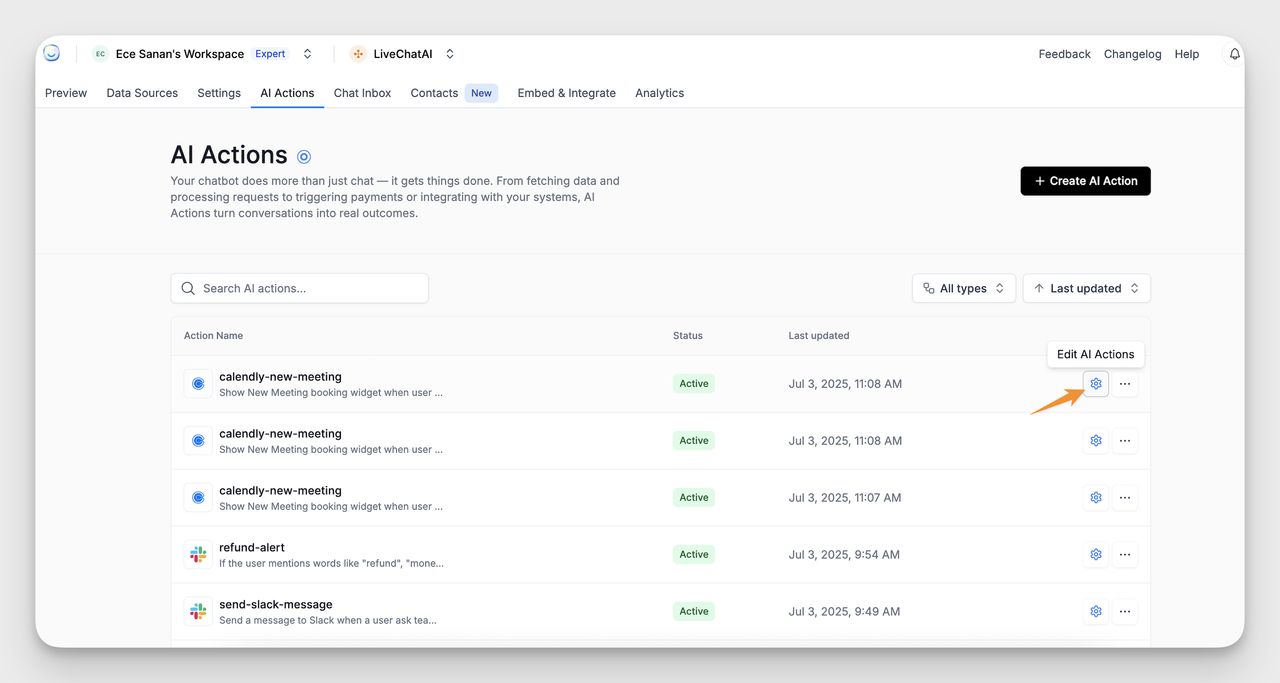
5. Edit AI Actions
Click the "Edit AI Actions"
6. Name the AI Action & Set the Condition
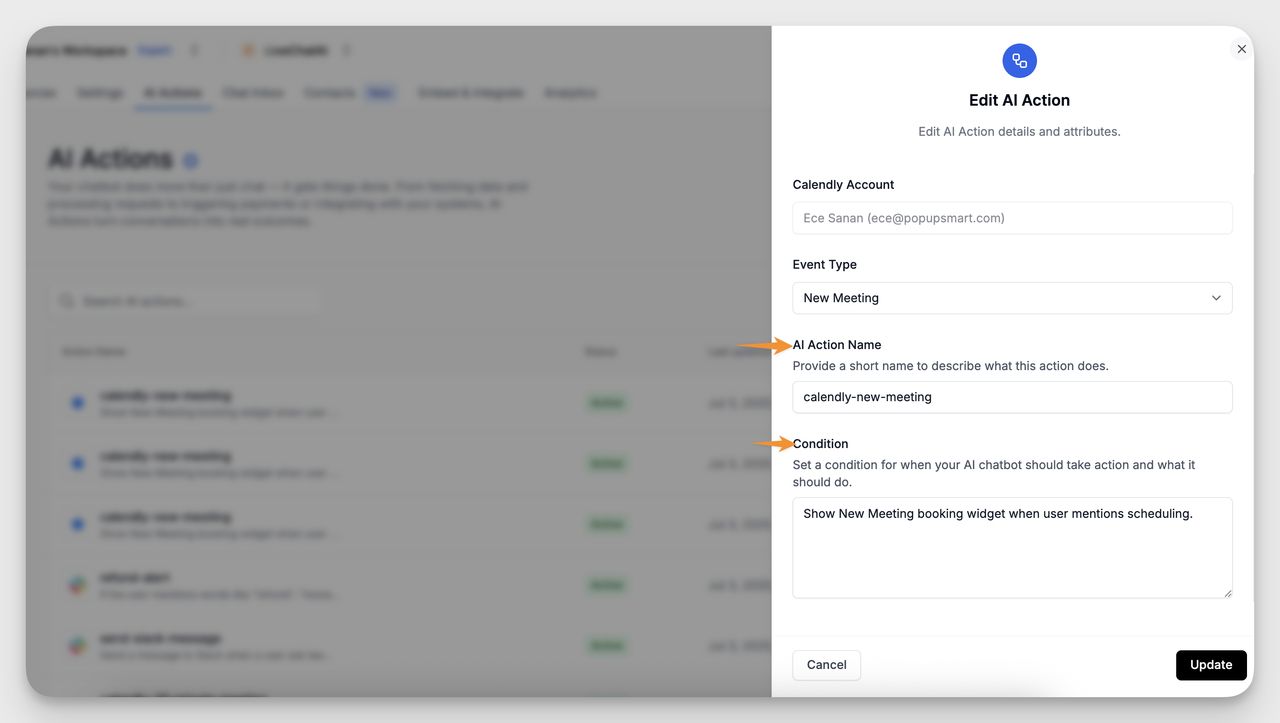
- Give your AI Action a clear and specific name, like:
calendly-livechatai-product-demo
- Define the trigger, the condition when this action should activate in a conversation. For example:
Show LiveChatAI Product Demo booking widget when user mentions scheduling.
This condition lets the chatbot recognize user intent and automatically respond with the booking interface.
7. Save Your AI Action
Click "Update" to activate the logic.
Where to Manage Your AI Actions
All created AI Actions appear in the AI Actions tab. You can:
- Search by name
- Check the status (active/inactive)
- Edit or remove existing actions
Best Practices
- Name your AI Actions clearly so they’re easy to manage later
- Make sure your Calendly event is active and configured correctly
If you need help with AI Actions or Calendly integration, feel free to contact our support team. We're here to help!