AI Actions with Zapier
We’re excited to announce our integration with Zapier, known for its flexibility in connecting various applications and services.
This integration empowers users to automate tasks by connecting their AI chatbot to over 6,000 services using Zapier's powerful webhooks, such as adding customer details to your CRM or setting a new event in Google Meet.
How to Add a Customer Detail to Your HubSpot CRM Through Zapier AI Action: A Detailed Guide
To start the process you need to have a LiveChatAI, Zapier, and a CRM account first.
- Log in to your LiveChatAI account first and navigate to the AI Actions section from the AI chatbot dashboard,
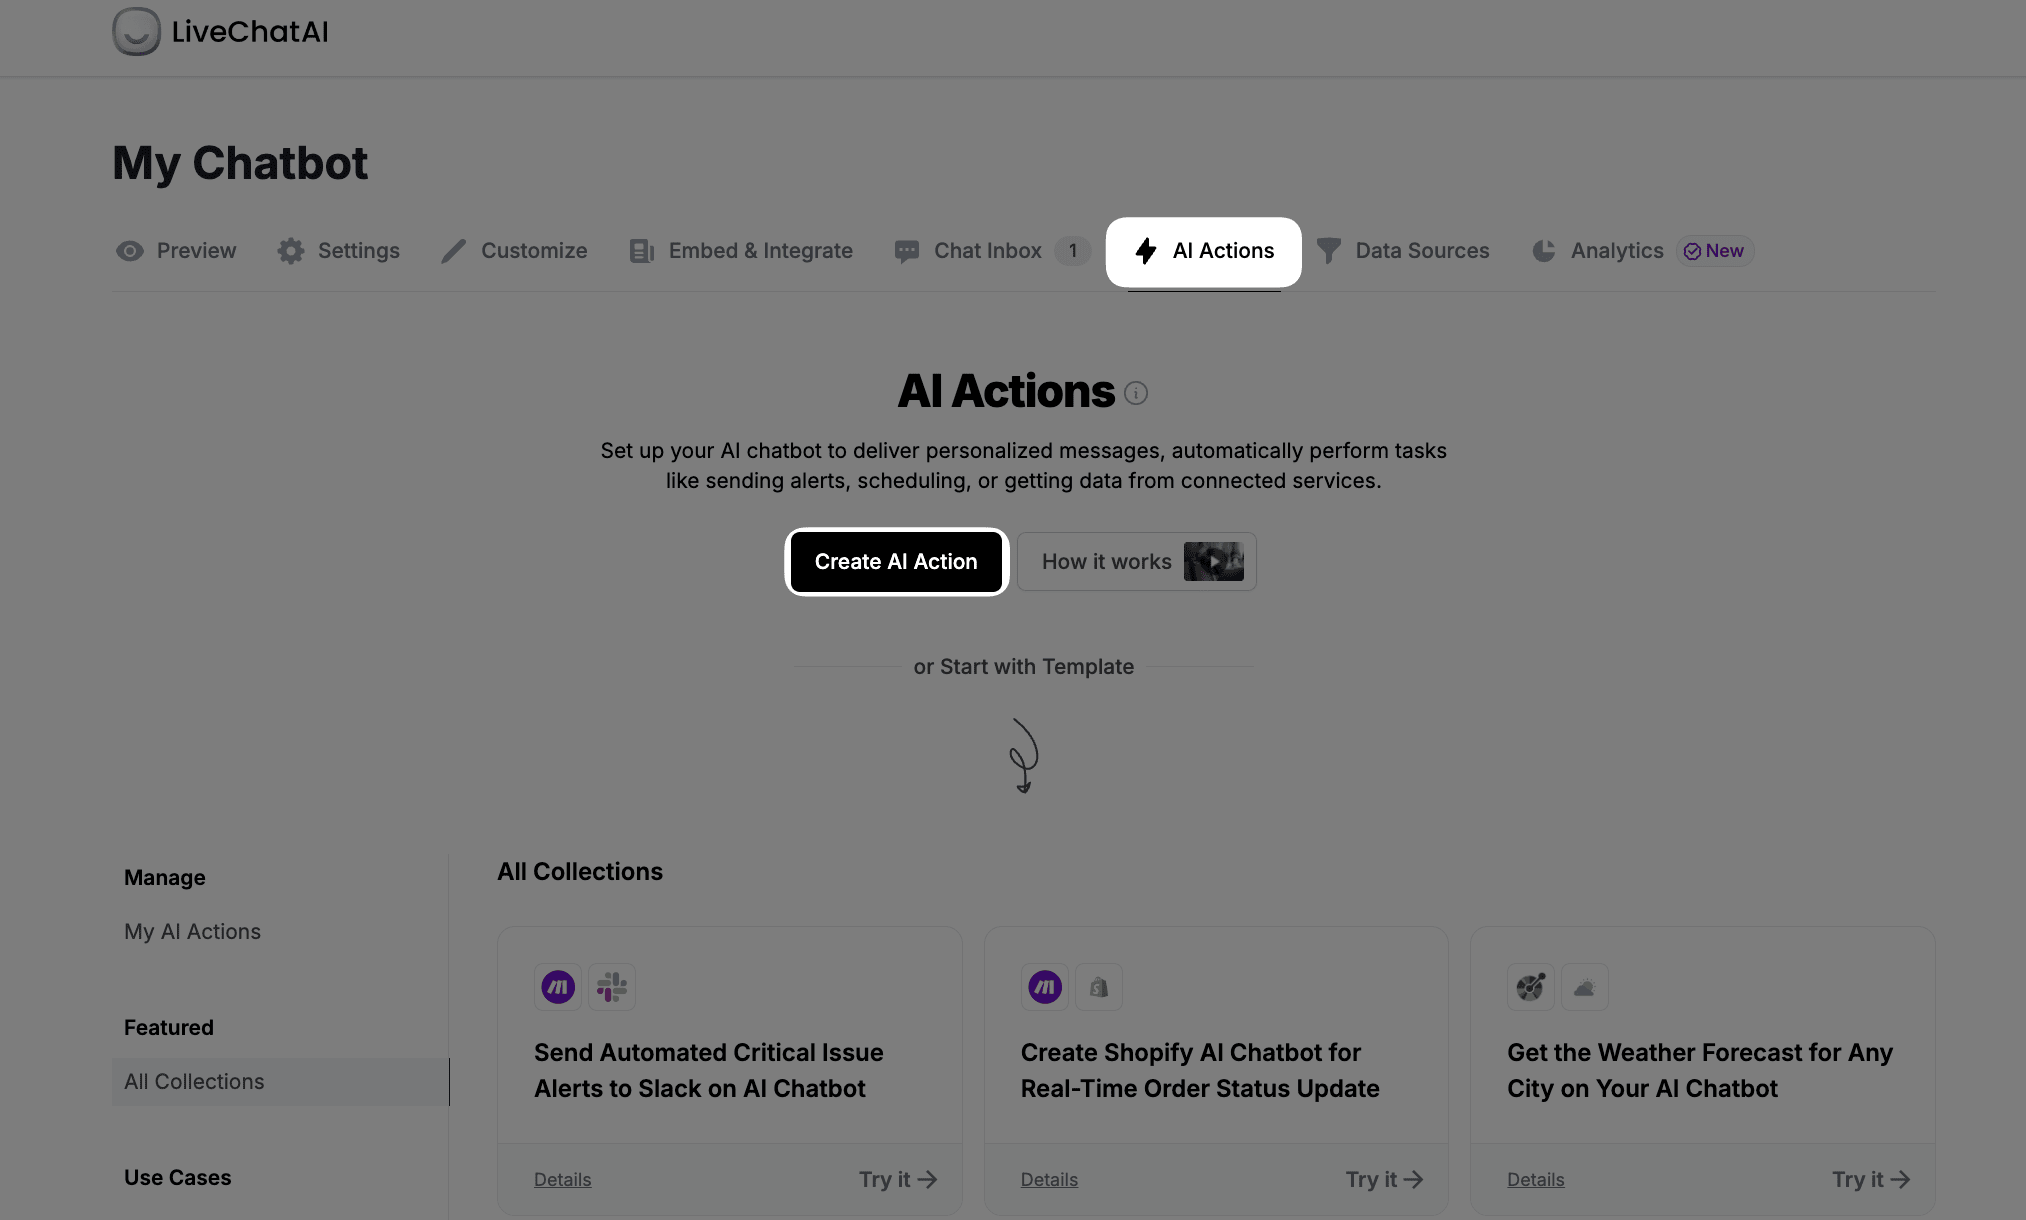
2. Click on the Create AI Action button to continue, and you will see Zapier. Click the Create AI Action button,
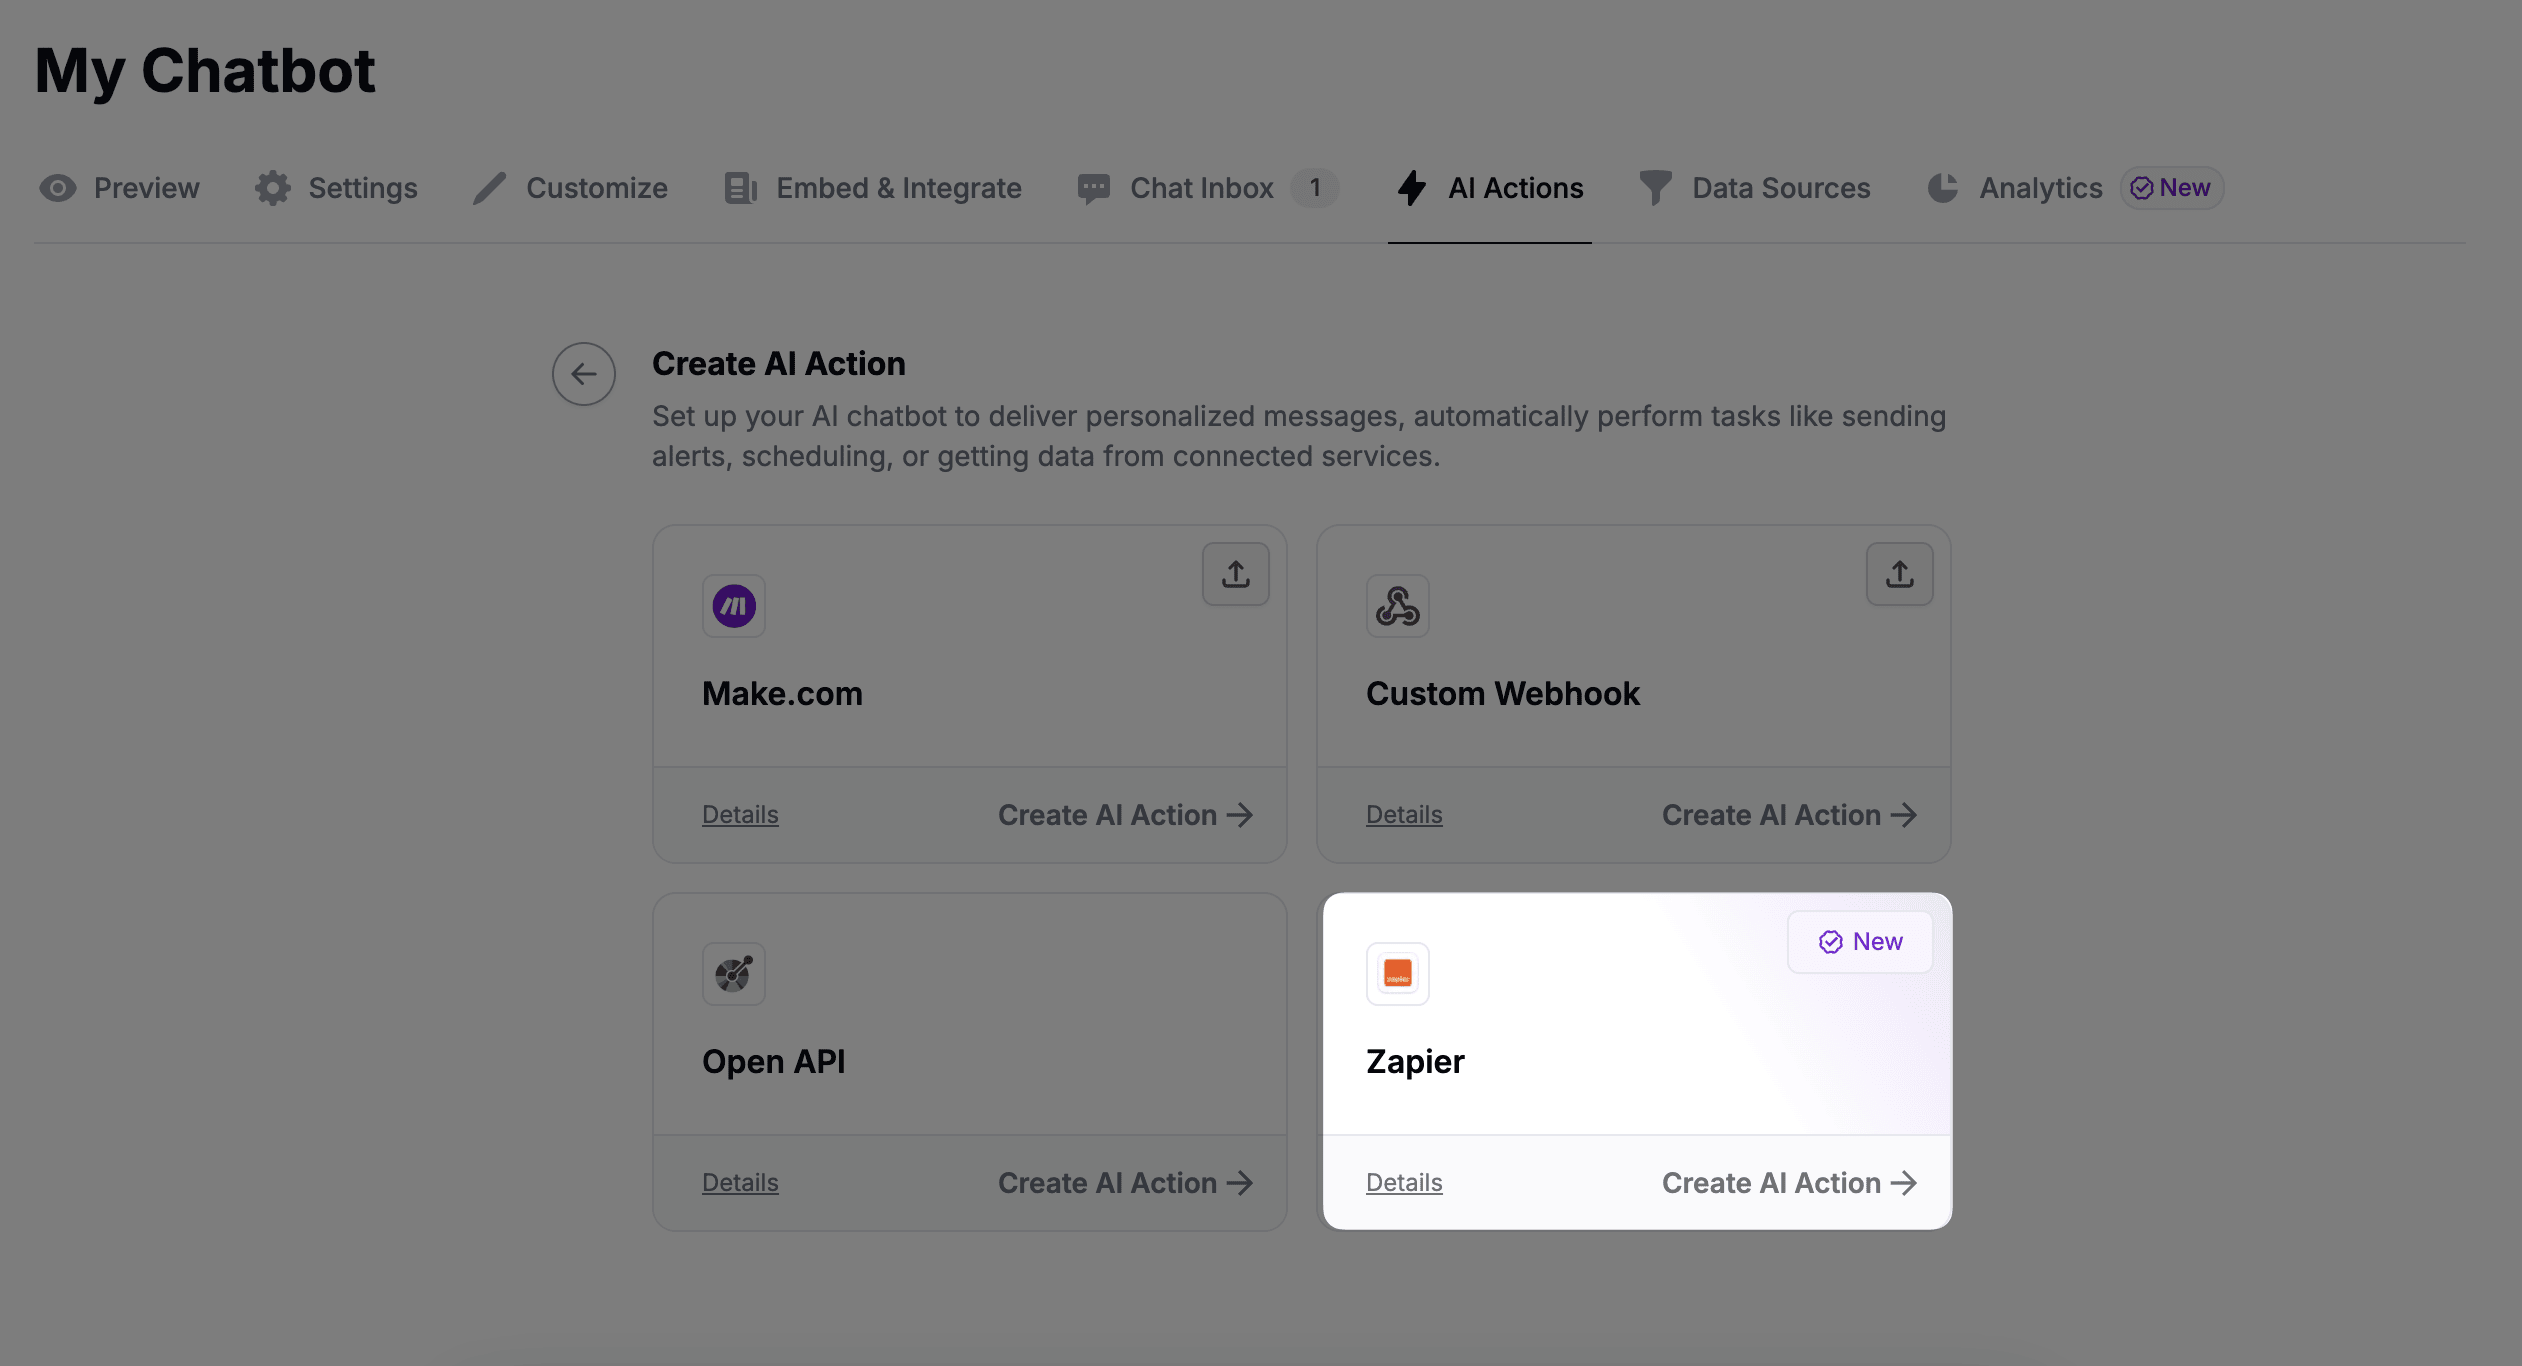
3. After clicking, please enter on which condition you want your AI chatbot to take an action,
4. Click the Collect Data button to clarify your trigger condition,
5. Identify and specify the data to be collected from visitors, adding detailed descriptions for each Input for clarity,
6. Click the Continue button below to add the webhook URL and navigate to your Zapier account.
Creating a Zap on Zapier
Log in to your Zapier account.
- Click the Create option from the left sidebar,
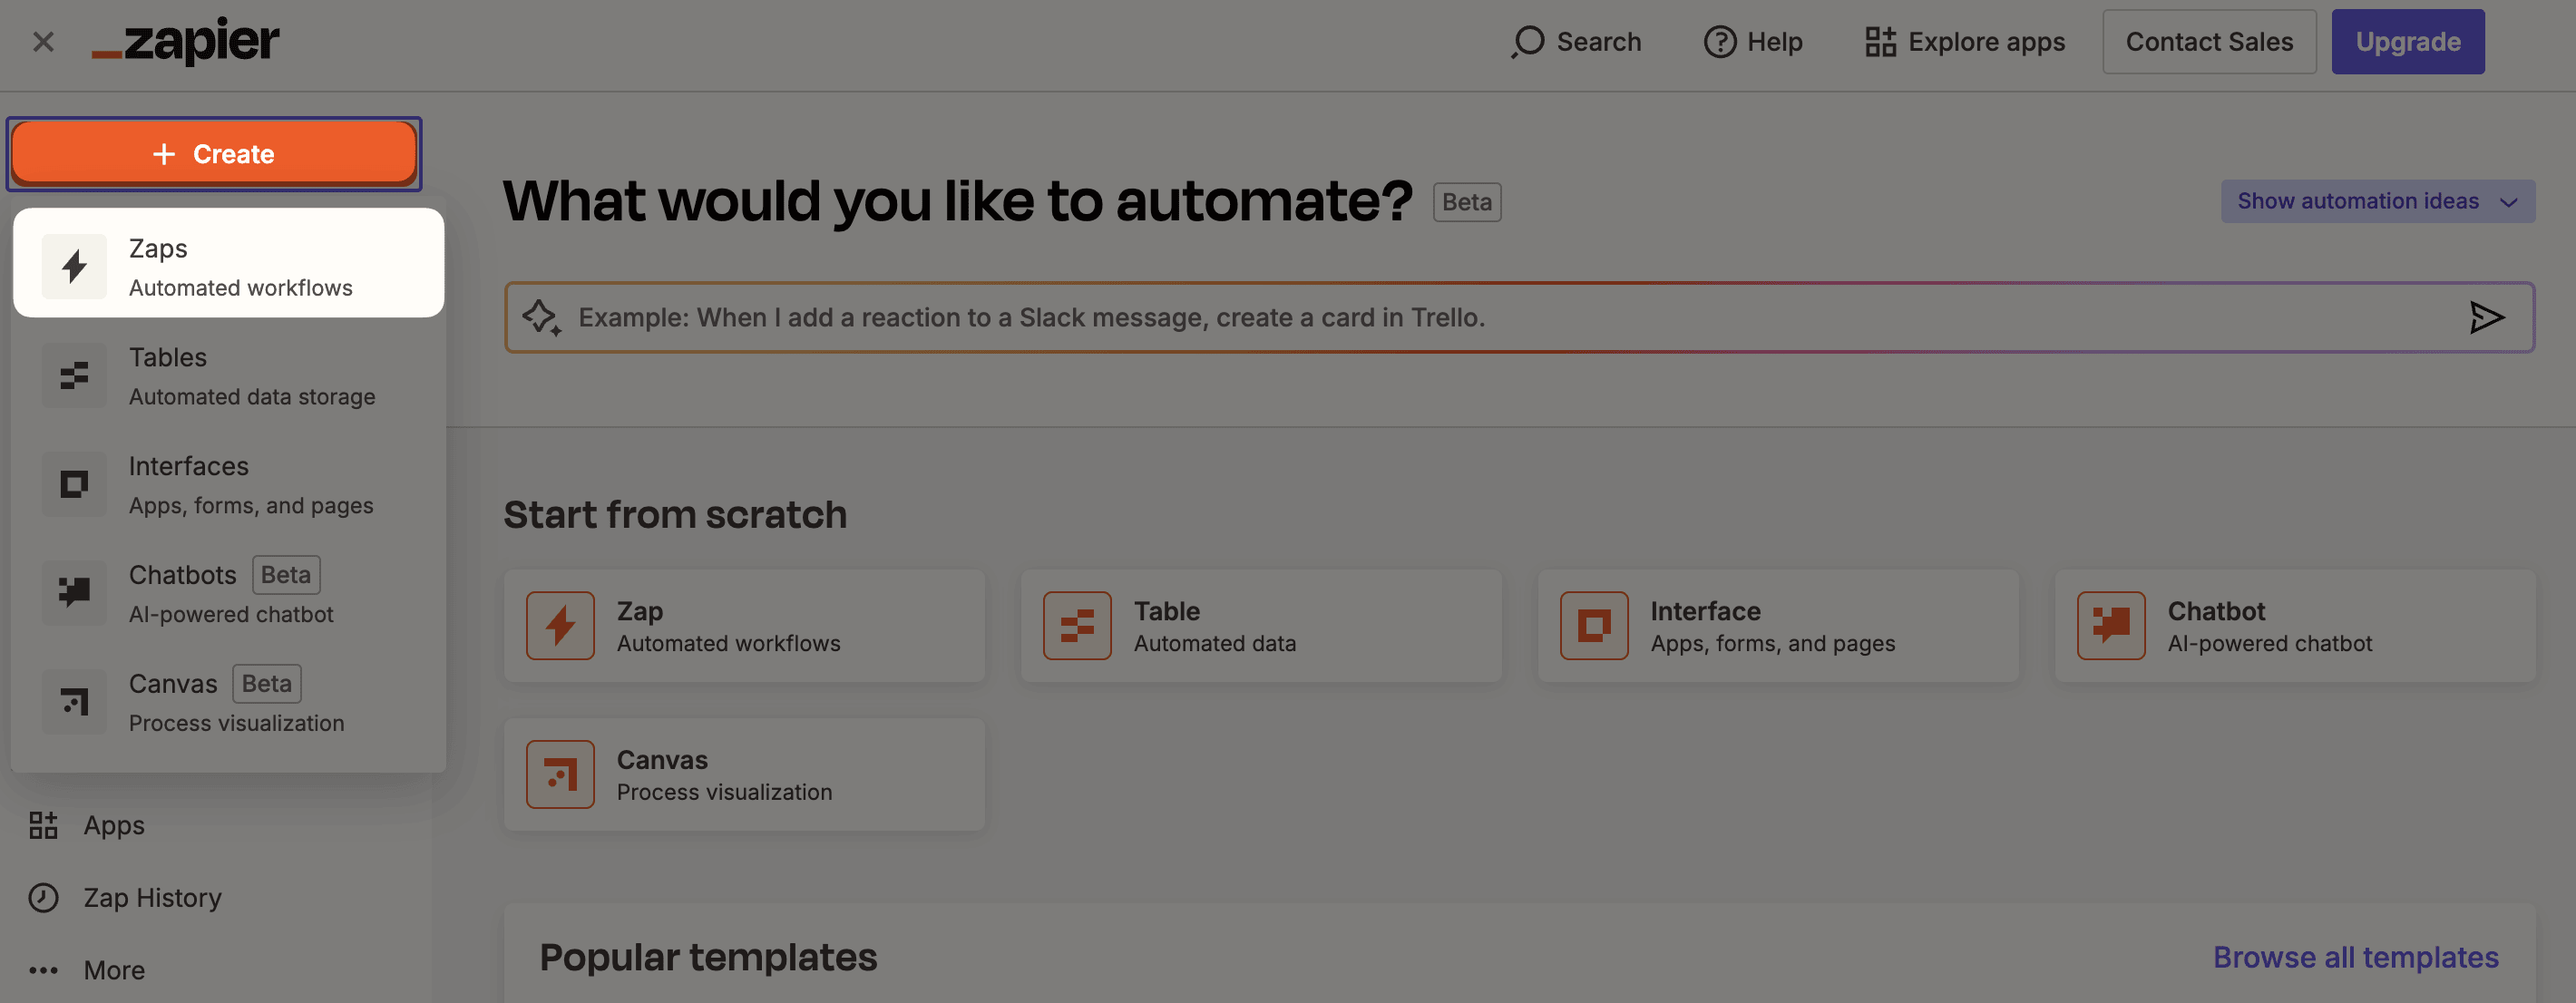
2. Choose the LiveChatAI trigger from the list,
3. Select the Watch AI Action from the dropdown list,
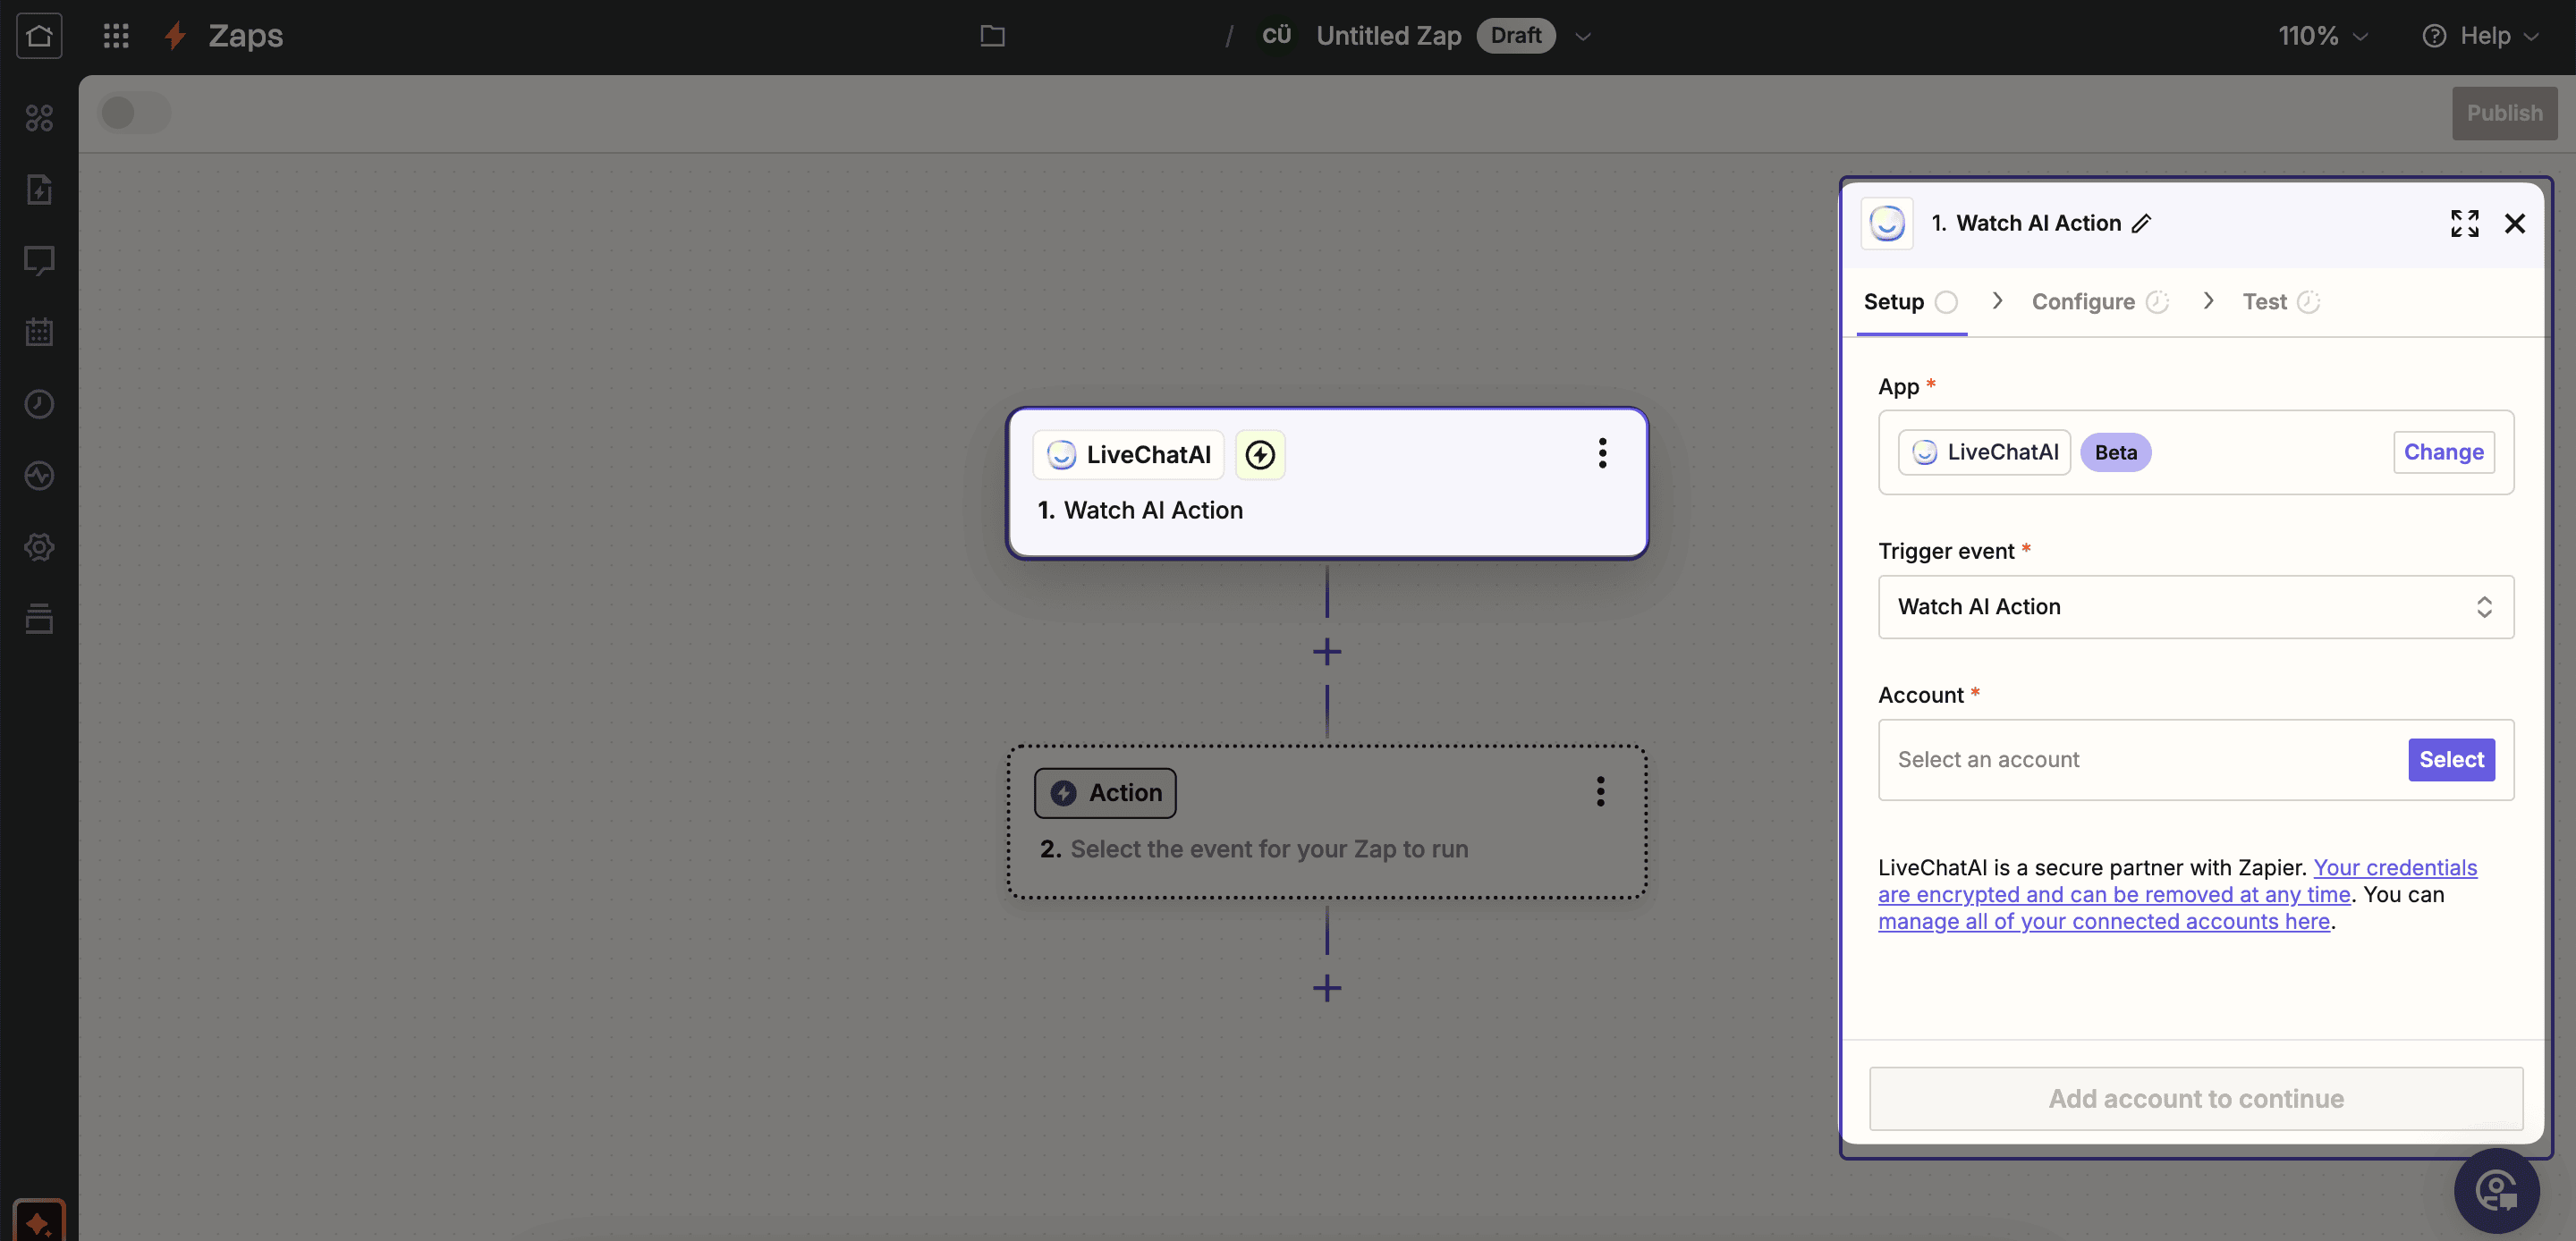
4. Now it's time to connect your LiveChatAI account with Zapier to complete the setup. Prepare your API key to make a connection. You can get your API key under the Profile section.
5. After adding the account, you need to enter AI action to complete the Configure step,
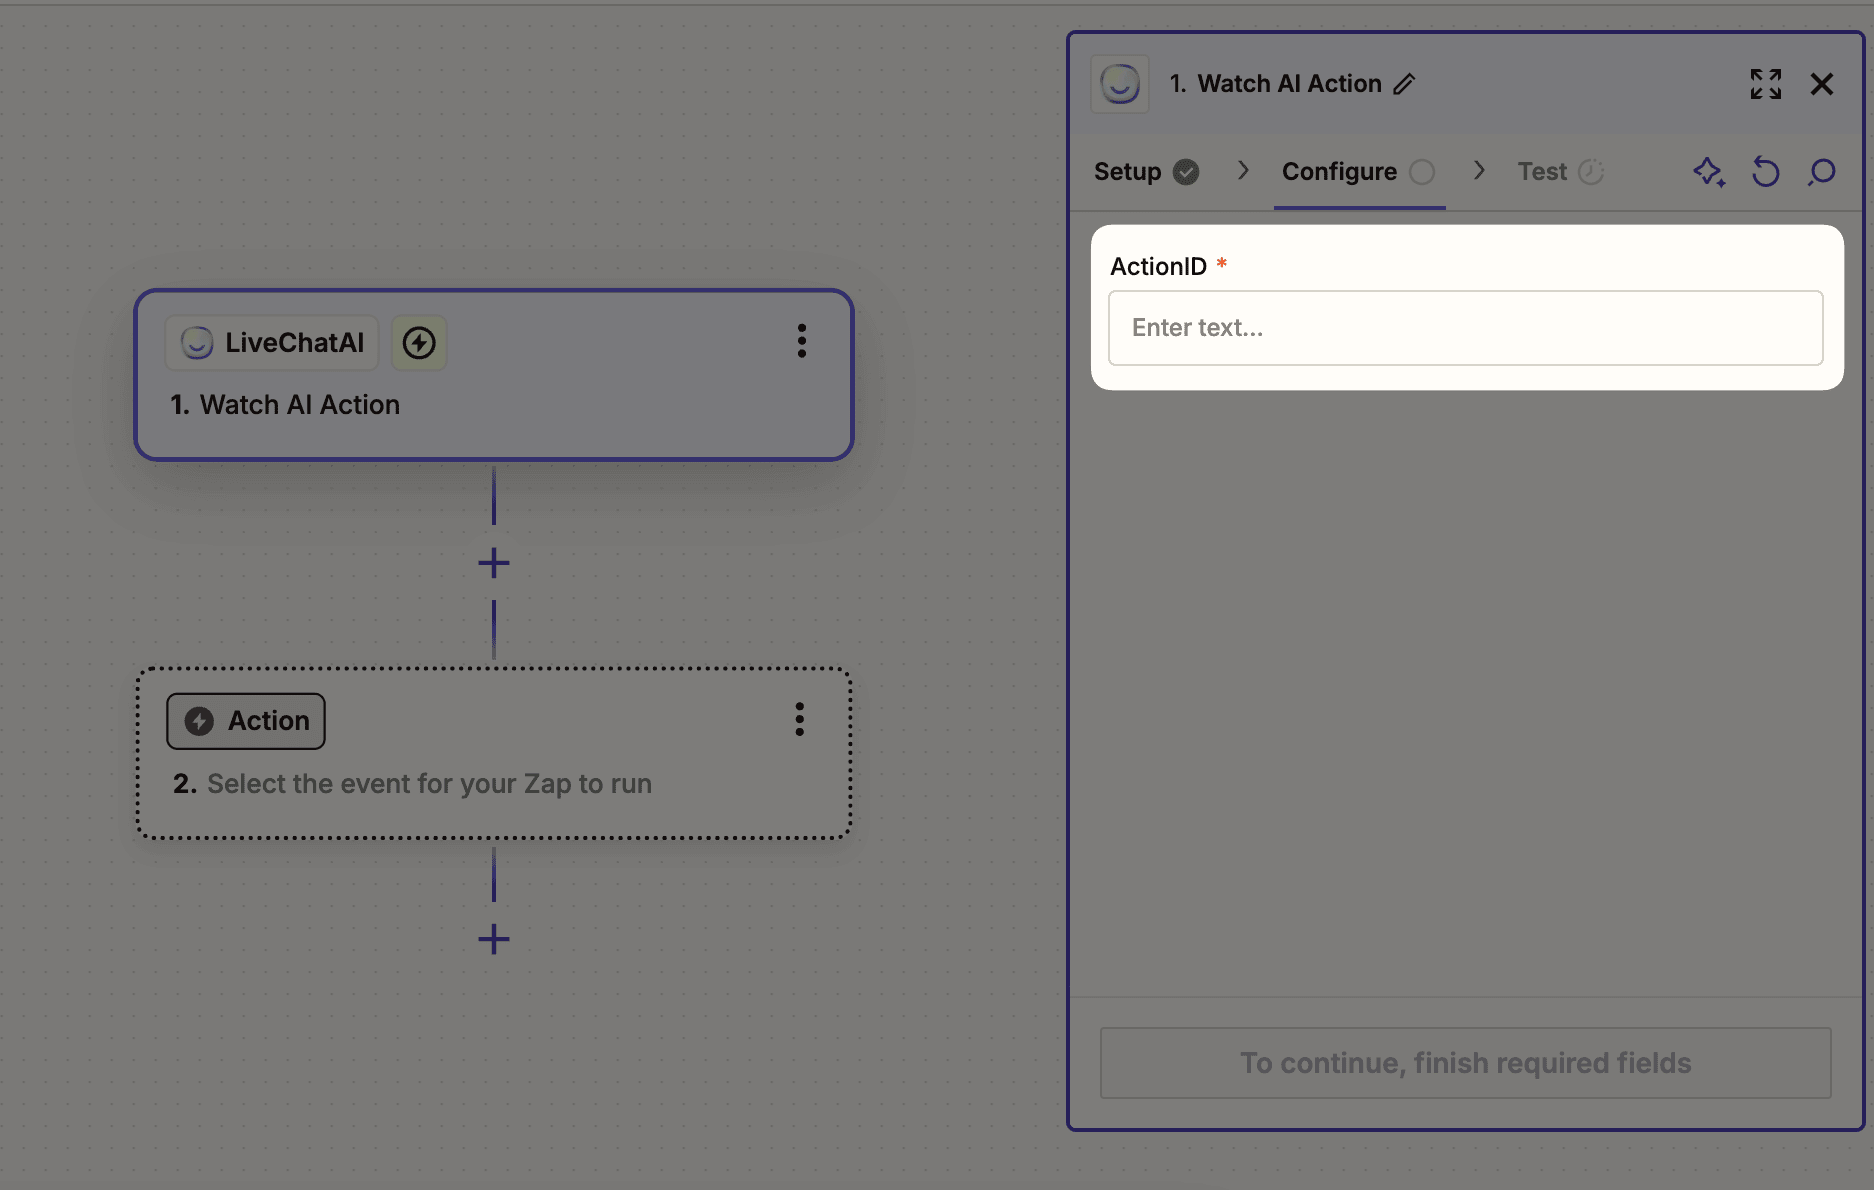
6. Now, you can test your Trigger zap to check whether it's completed.
Configure Section in Zaps Creation
1. For the Action Zap, you need to choose HubSpot CRM from the list,
2. For the Action event, you need to select the Create Contact option from the dropdown list,
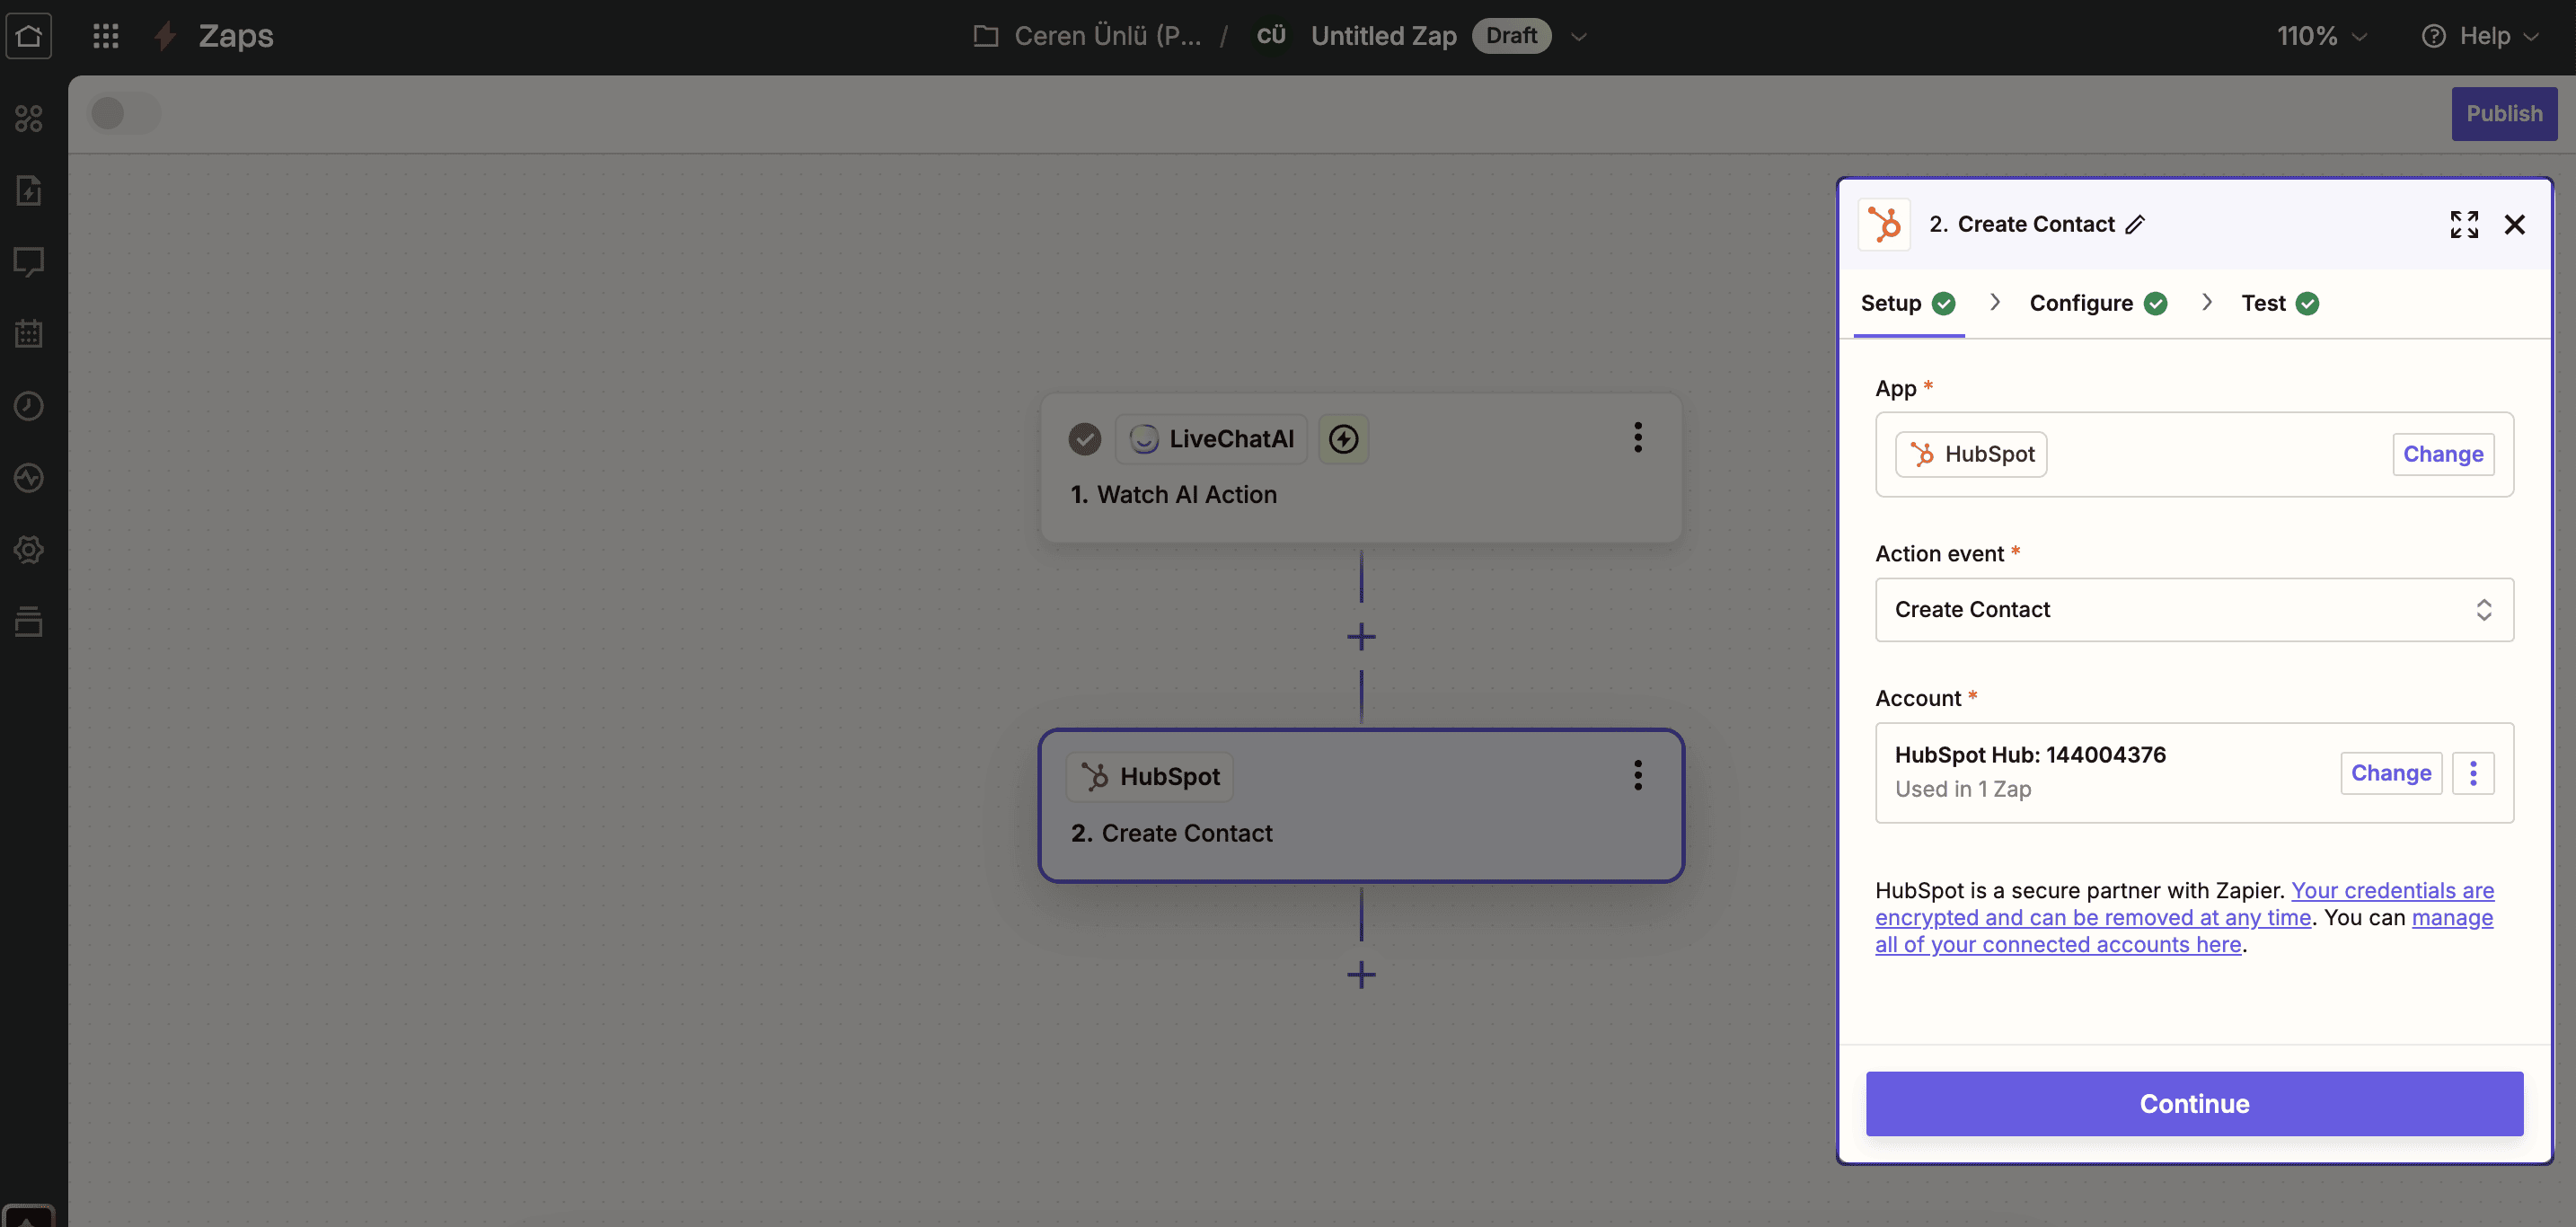
3. Connect your HubSpot Account by accepting permission given to Zapier,
4. You need to connect the variable with the Member Email section to let your HubSpot take information from the AI action,
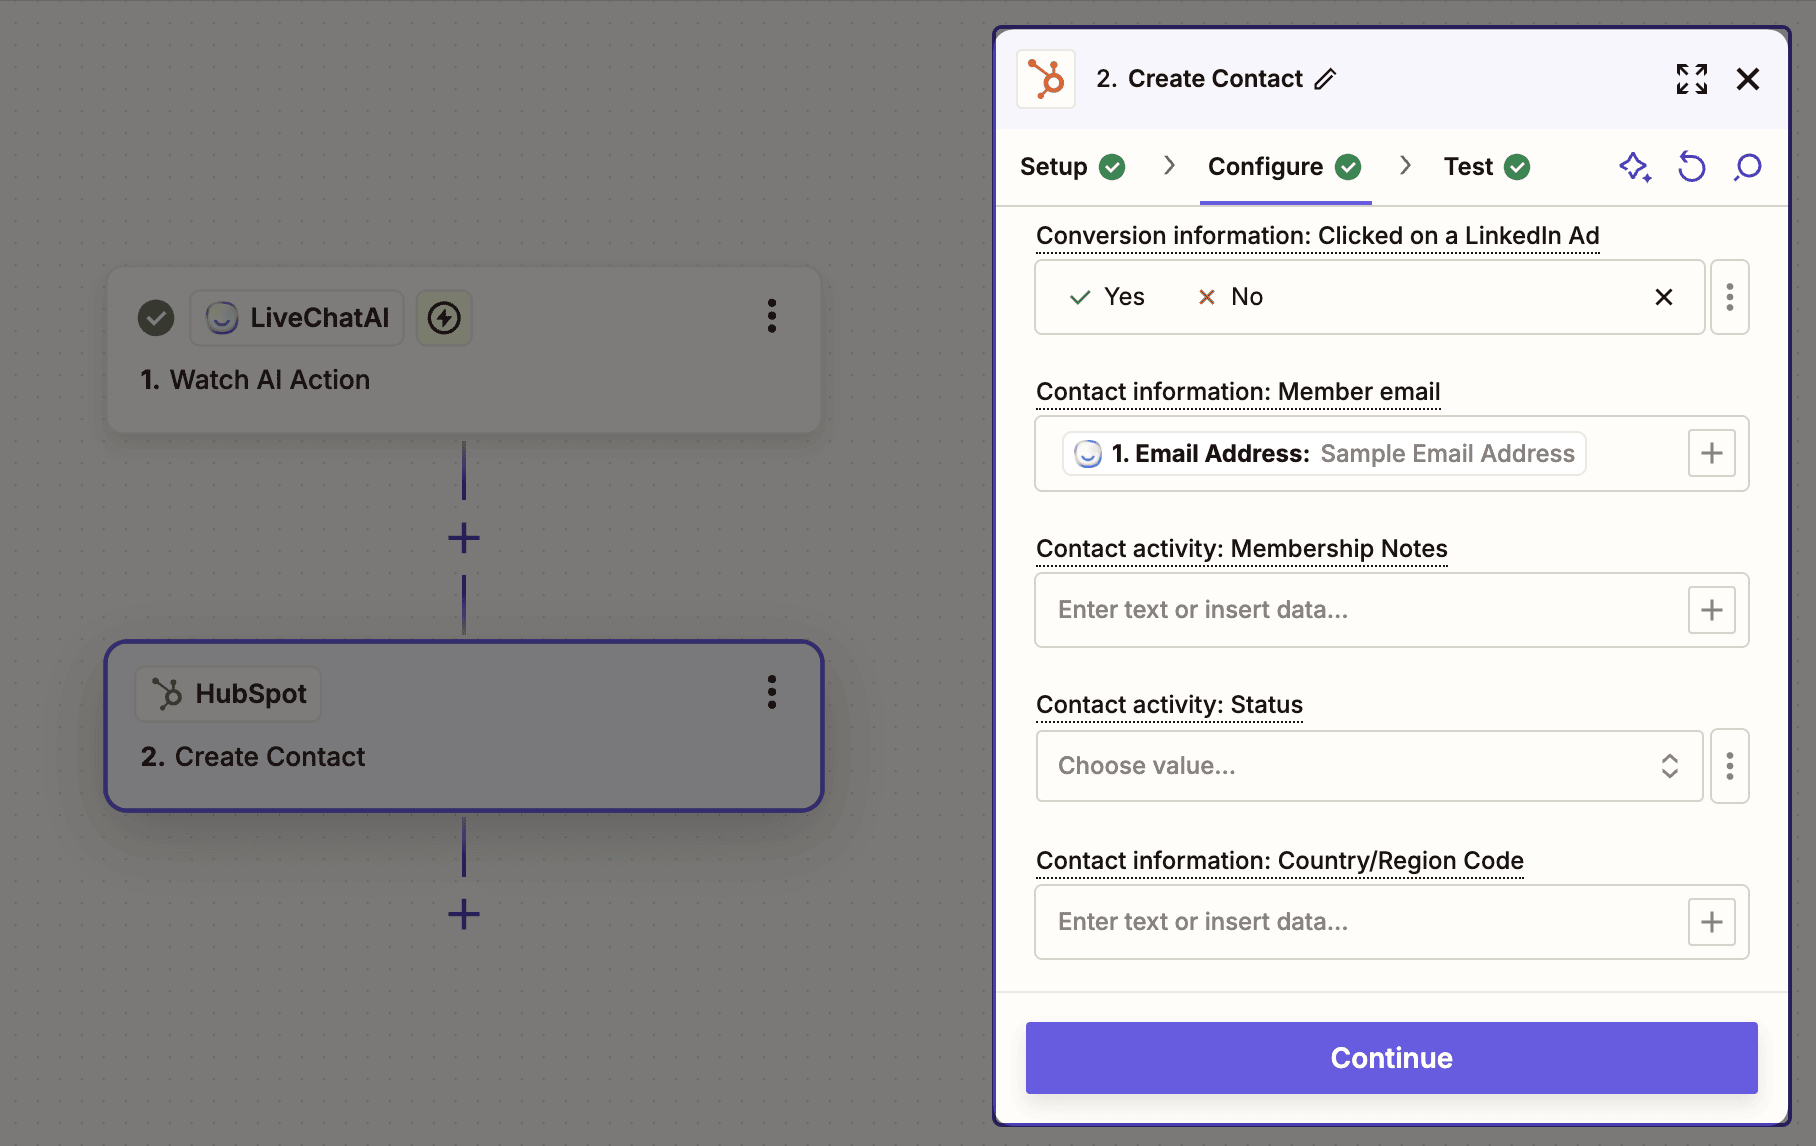
5. Test your connection and you're ready to publish to gather user information through AI chatbot conversations🎉
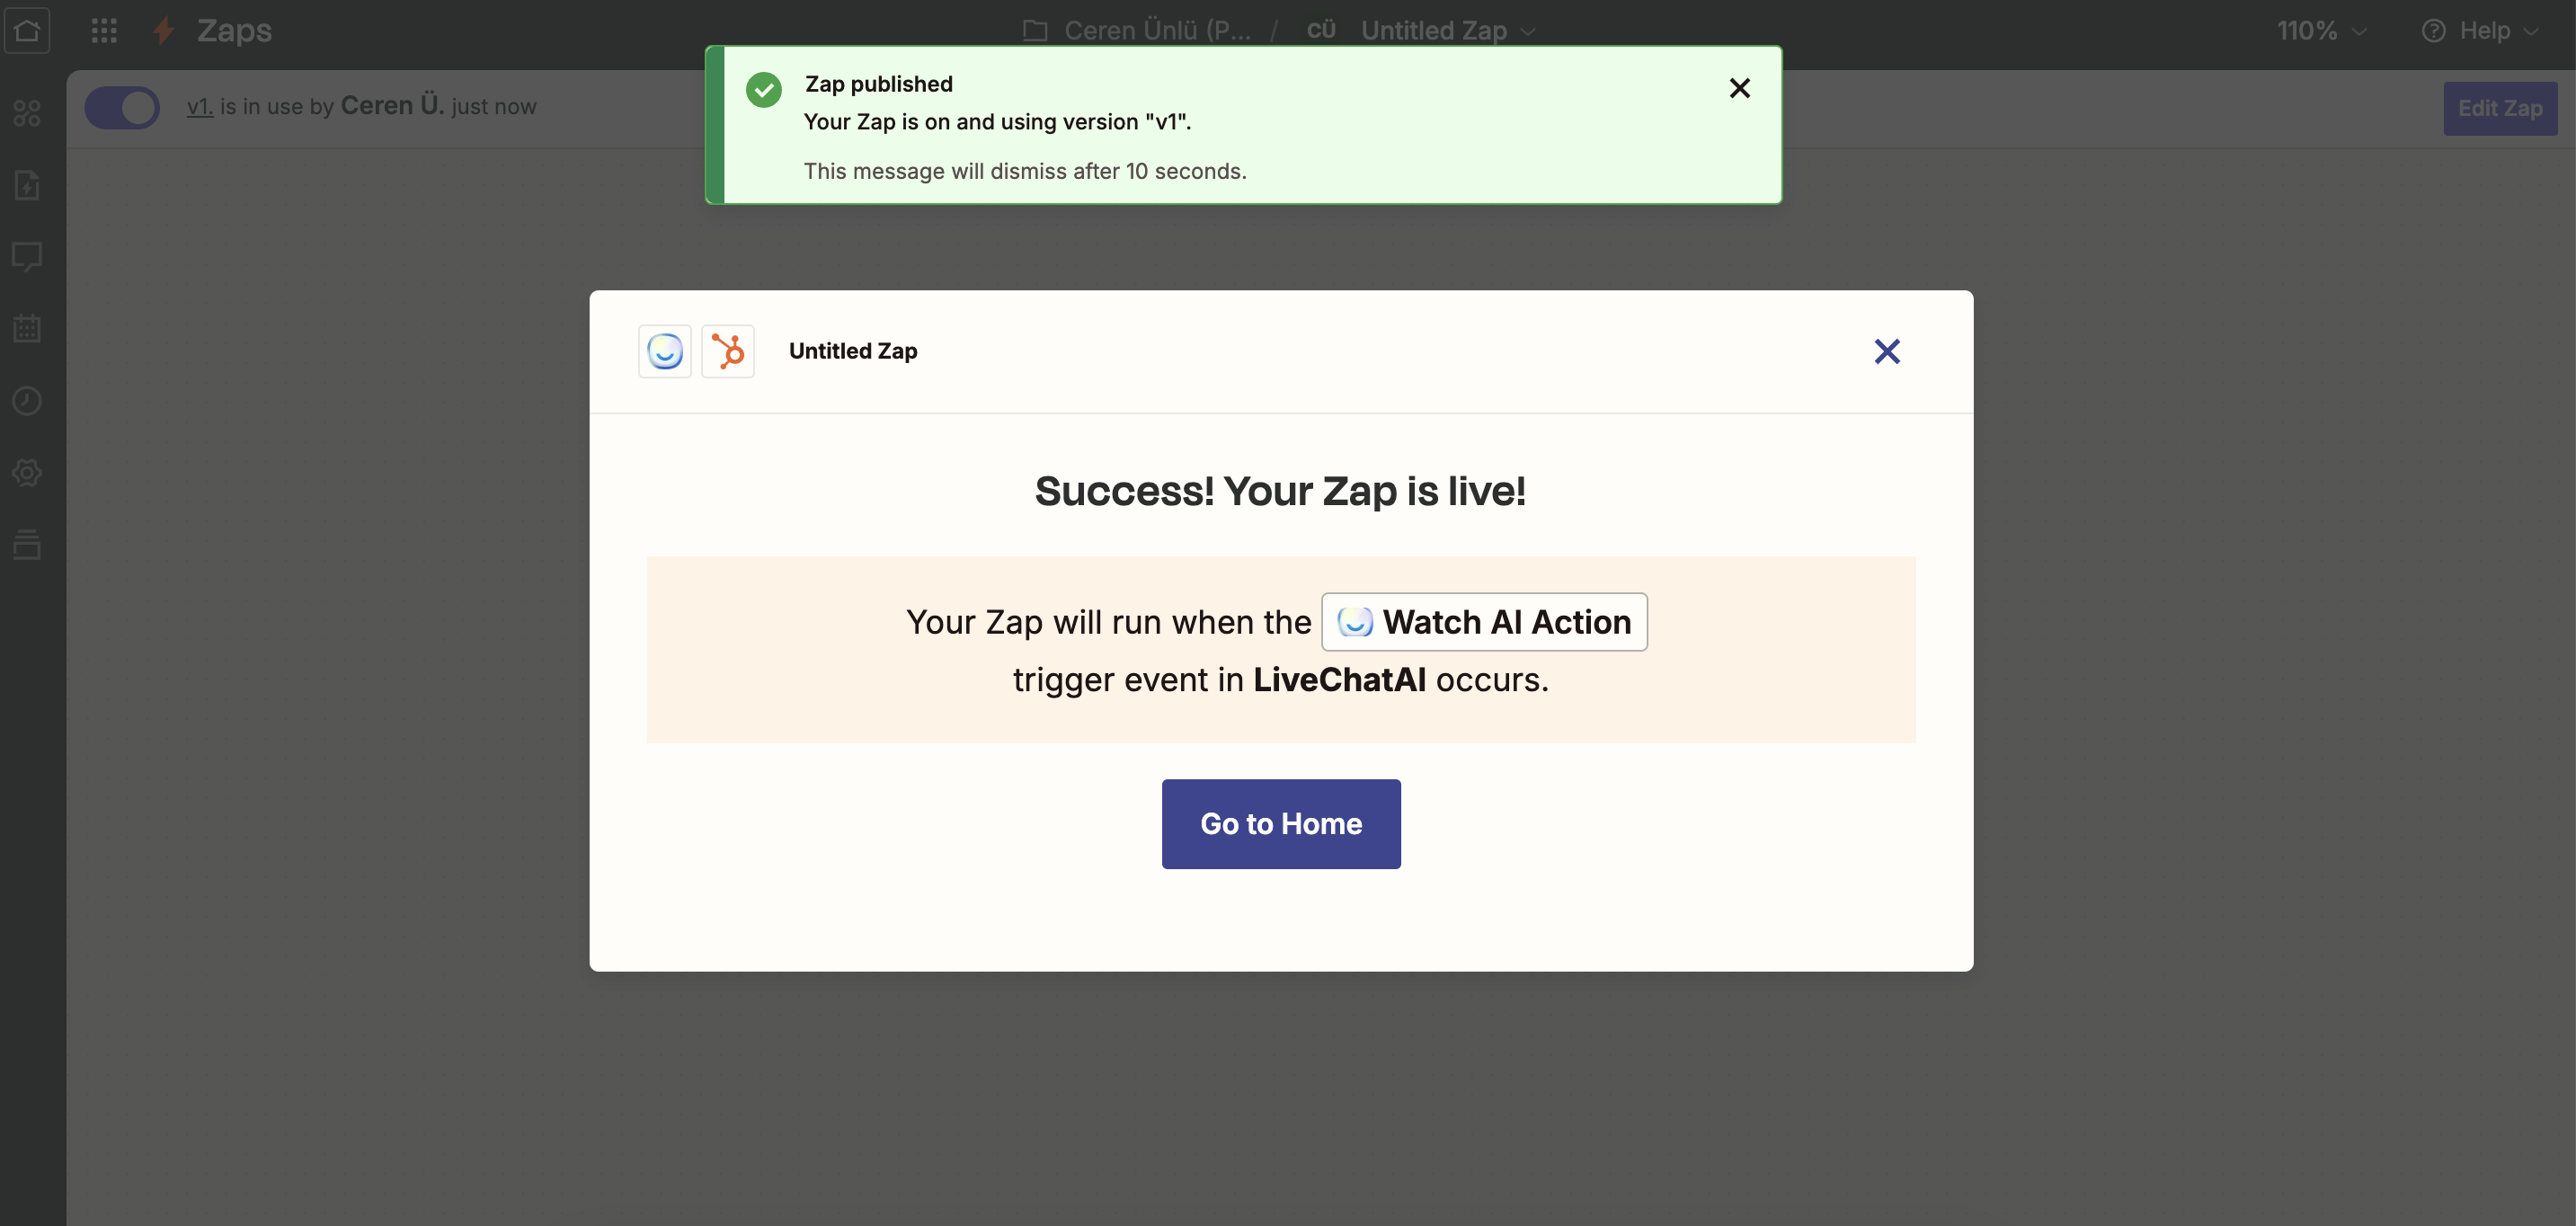
6. Turn back to your LiveChatAI dashboard and check your connection to see whether it's active,
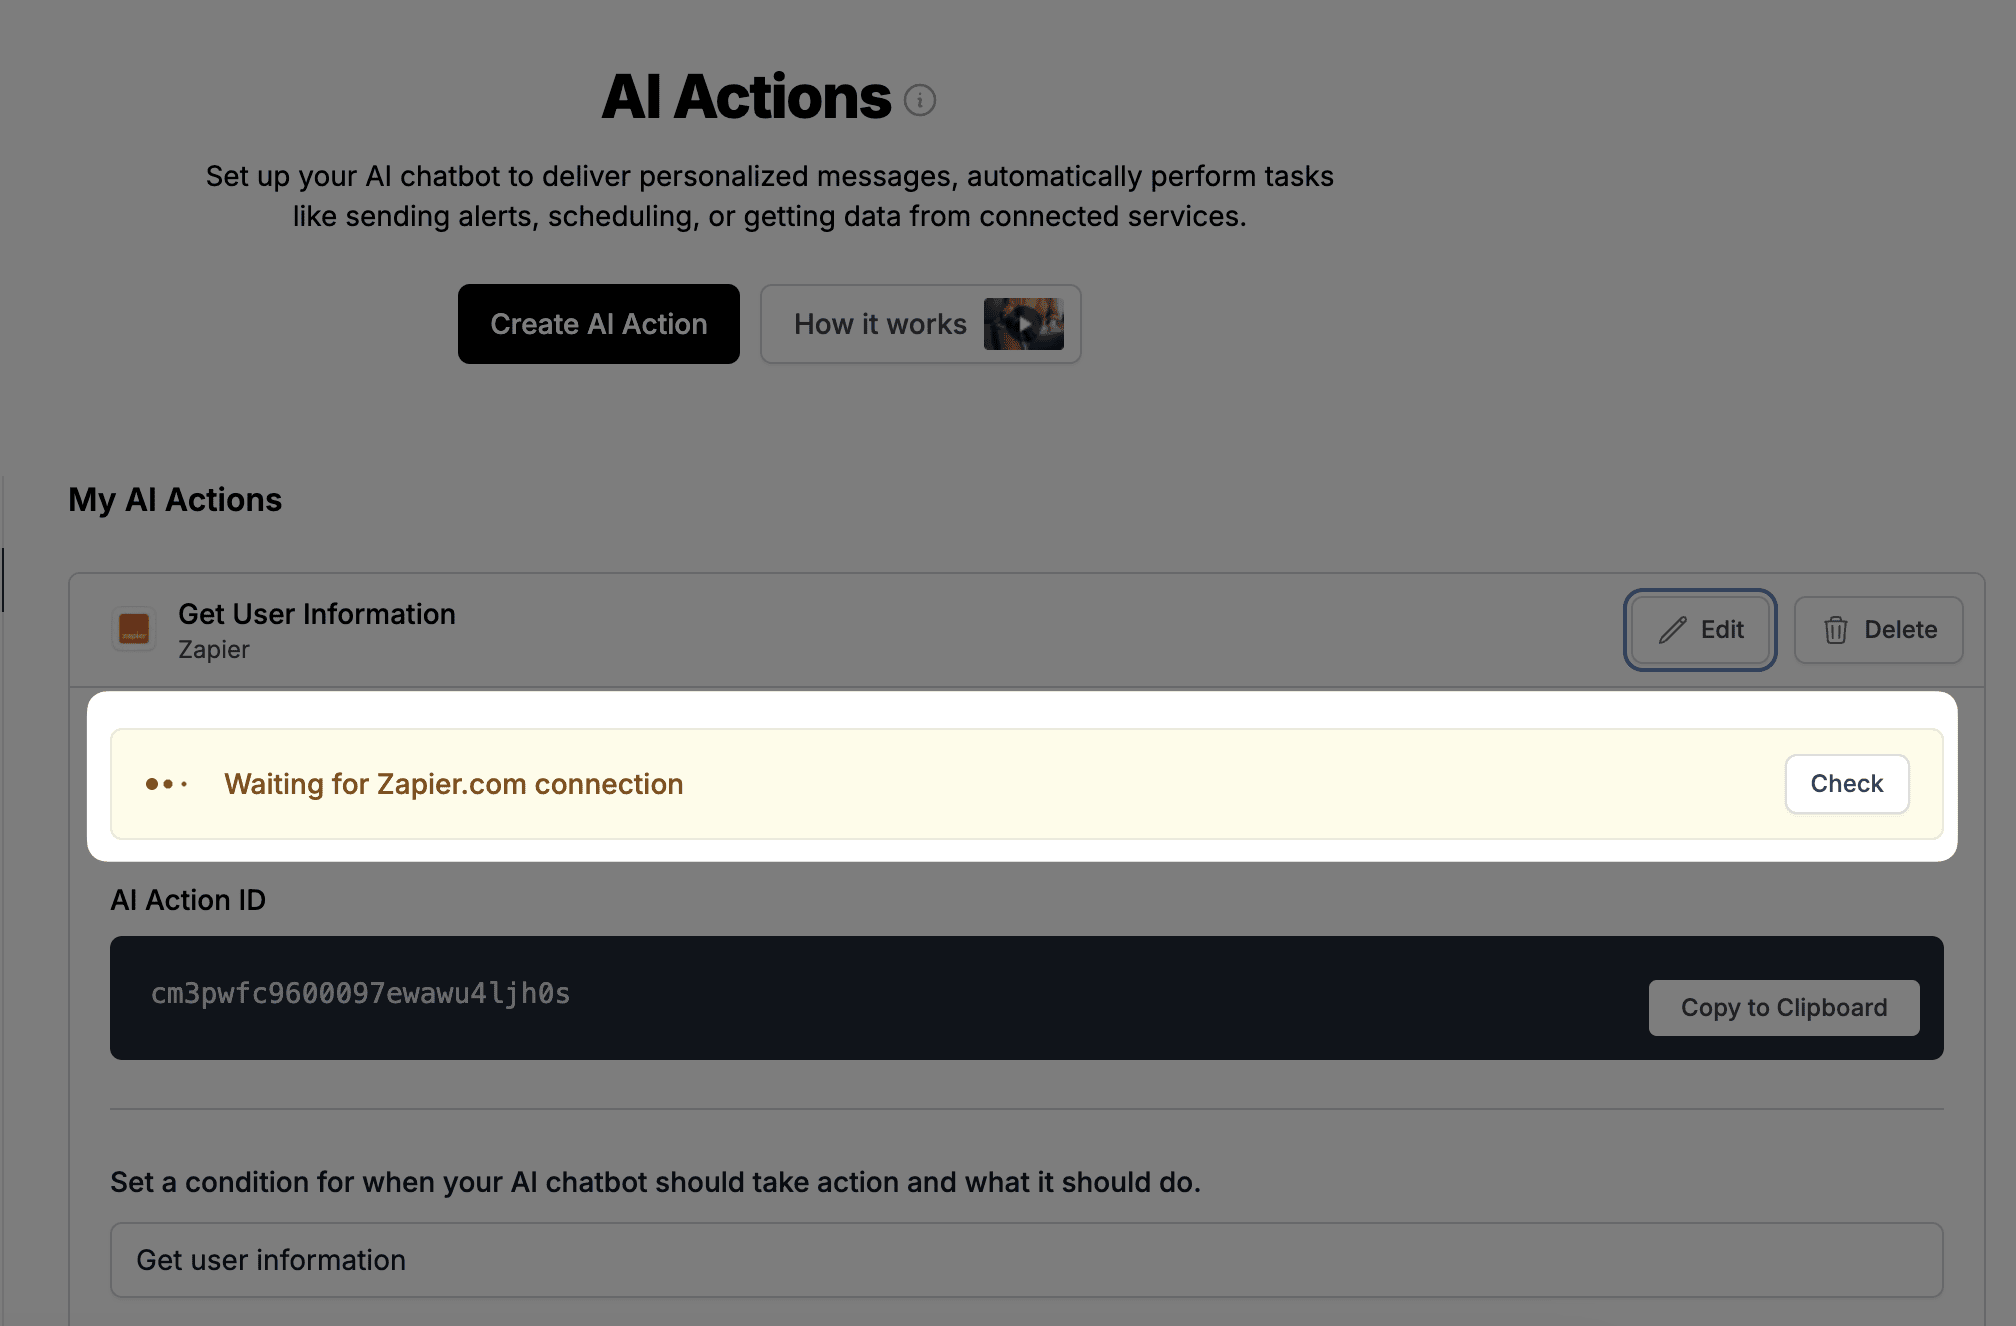
And congrats! You are done with checking your connection for your Zapier AI action.
By the time, a visitor shares email information, the Zap will be triggered and information is transmitted to HubSpot CRM as a contact.
Do you have questions about AI Actions and a bit confused about how to setup? Contact us!