AI Actions via Webhook
Webhooks allow your AI chatbot to communicate with any third-party system in real time. With a webhook-based AI Action, your bot can send structured data to an external endpoint and handle the response dynamically inside the chat.
When to Use a Webhook
Use the Custom Webhook AI Action when:
- You want to integrate with a system that has a RESTful API
- You need the AI to take a dynamic action based on real-time user input
- You want to return data back to the chat interface (e.g., delivery estimates, ticket status)
- You don’t want to rely on a platform like Zapier or Make.com
How to Set Up a Webhook AI Action
- Go to AI Actions > Create New
- Select Custom Webhook under Create from Scratch
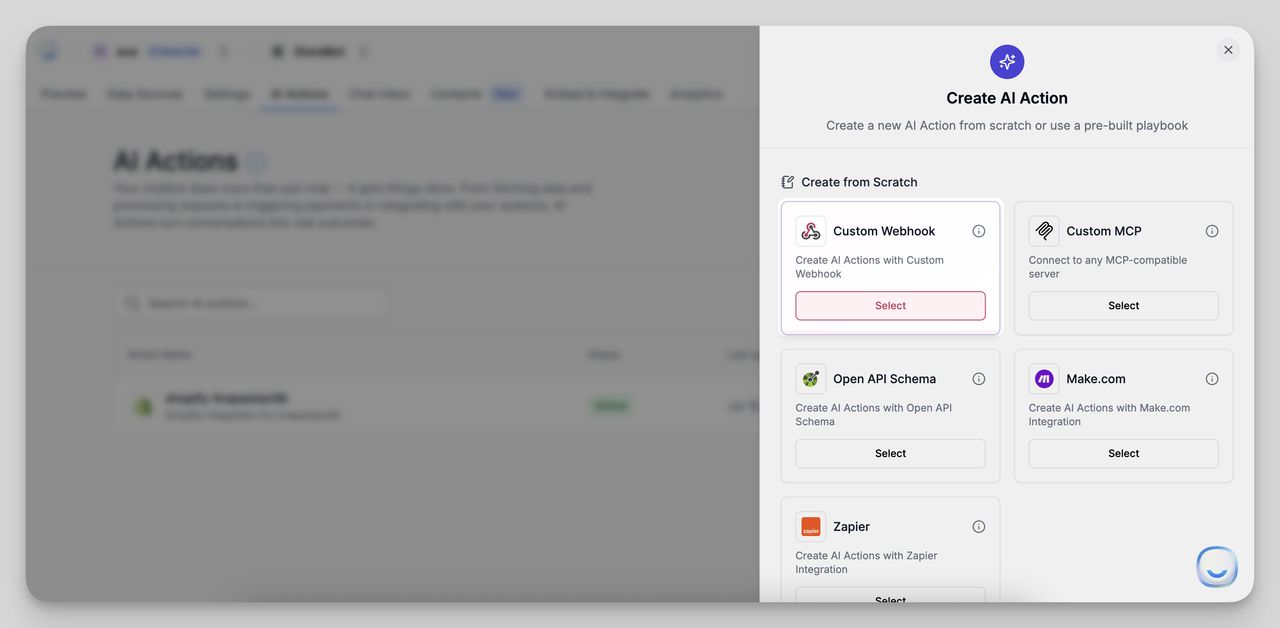
- Fill in the following fields:
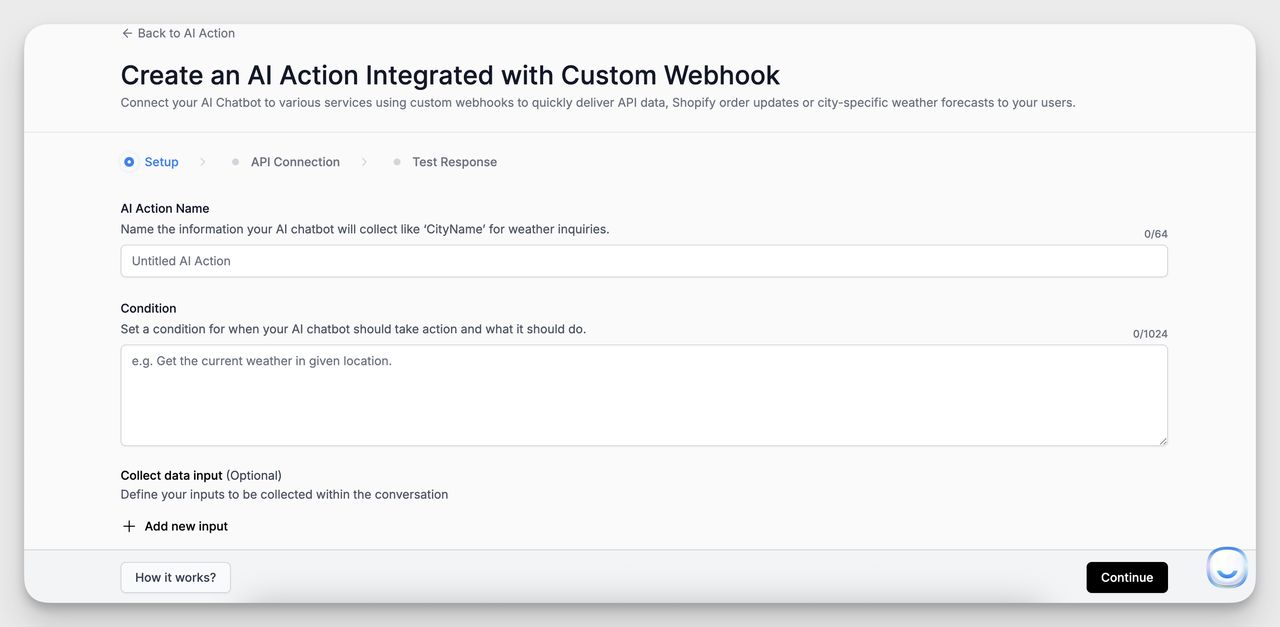
1. AI Action Name
Provide a clear name to describe what the action does (e.g., check-order-status or send-lead-to-crm).
2. Condition
Define a condition that triggers this action, such as: Trigger this webhook when the user asks about order delivery.
3. Endpoint URL
Enter the webhook URL where data should be sent. This should be a valid HTTPS endpoint that accepts POST requests.
4. Define Inputs (Optional)
These are variables collected from the chat conversation and sent to your endpoint. Each input includes:
- Name (e.g., order_id, email)
- Description (required)
Example:
{
  "order_id": "12345",
  "email": "[email protected]"
}
These inputs are passed as part of the webhook payload.
5. Fallback Message
Set a fallback message to display in case the webhook fails or does not return a usable response.
Webhook Payload Format
The chatbot sends a POST request with a JSON body structured like this:
{
  "order_id": "12345",
  "email": "[email protected]",
  "chatbot_id": "clm4ua3fj0001140f8bf7n8qx",
  "city": "abc123"
}
Response Format
Your endpoint should return a response in the following format:
{
  "response": "Your order #12345 is on its way and will arrive by Tuesday."
}
This message will be shown directly to the visitor in the chatbot.
Testing the Webhook
Once your action is set up:
- Click Send Test Data to send a sample payload.
- Check your server logs or response handler to verify everything is working.
- Click Update to save.
Tips for Success
- Use clear conditions to prevent your webhook from triggering unnecessarily.
- Secure your webhook with token validation or IP whitelisting.
- Always return a valid response key in your response object to ensure the AI replies properly.
Good Use Cases
Sending leads to your CRM
Fetching user-specific data from your database
Registering webinar/event signups
Generating custom pricing quotes
Need help setting up your webhook? Contact Support and we’ll be happy to assist.