Agency Partnership Plan
LiveChatAI's Agency Partnership Plan is designed for customers managing multiple clients and offering AI chatbot solutions.
The plan allows agencies to create sub-workspaces to efficiently manage their clients' accounts while maintaining visibility and control.
Getting Started: Required Steps
To begin using the LiveChatAI Agency Plan, follow these steps:
Step 1: Schedule an Initial Meeting
- Visit the Agency Partnership Page and schedule a meeting with our team.
- During this meeting, we’ll discuss your needs, explain the agency model in detail, and address any questions you might have.
Step 2: Account Approval
- After the initial meeting, your account will be reviewed and approved as an Agency Workspace.
- Once approved, your account will be identified as "Agency," unlocking all relevant features.
Step 3: Onboarding Process
- Following approval, your onboarding process will begin:
- Access to tools for creating sub-workspaces and chatbots.
- Guidance on customizing chatbots for your clients.
- Instructions on resource allocation and analytics tracking.
Step 4: Launch and Scale
- After completing the onboarding process, you can launch your agency workspace and start serving your clients.
- Scale your business by creating sub-workspaces, customizing chatbots, and optimizing performance with analytics.
Key Features🔑
Sub-Workspace Management:
- Agencies can create sub-workspaces for each client.
- Sub-workspaces are isolated from each other for privacy and security.
💫
The main agency workspace retains visibility and control over all sub-workspaces.
Customizable Limitations:
- Agencies have overarching limits on data sources, seats, and message quotas.
- These limits apply collectively across all sub-workspaces and are not divided equally.
- Agencies can allocate quotas flexibly, with some sub-workspaces using more resources while others use less.
Add-On Flexibility:
- Agencies can expand limitations as needed through add-ons for data sources, seats, and message quotas.
- This ensures scalability based on client requirements.
Chatbot Settings:
- Agencies and sub-workspaces can create multiple chatbots, each fully customizable.
- Settings, configurations, and branding can be adjusted for every chatbot independently.
- Performance metrics are available for every workspace and chatbot.
Revenue Calculation and Partnership Opportunities:
- Use the Revenue Calculator to estimate earnings.
- Schedule a meeting to discuss partnership details using Calendly.
How Resource Allocation Works🔍
Message Quotas
The total message quota applies to all sub-workspaces combined.
Example
If your agency has a 10K message quota:
- Sub-workspace A might use 7K messages.
- Sub-workspace B might use 2K messages.
- Sub-workspace C might use 1K messages.
💫
Quotas are not pre-allocated but dynamically used based on activity.
Data Sources & Seats
- Similar to message quotas, the total data source limit applies collectively to all sub-workspaces.
- The total number of seats is shared across sub-workspaces.
- You can assign seats to specific sub-workspaces based on client needs.
Getting Started with the Agency Plan📌
- Sign up for an account at LiveChatAI.
- Once registered, contact LiveChatAI Support to enable the agency model for your account.
- After contacting support, your account will be defined as an Agency Workspace. You can now create and manage sub-workspaces directly from your dashboard.

Adding Sub-Workspaces
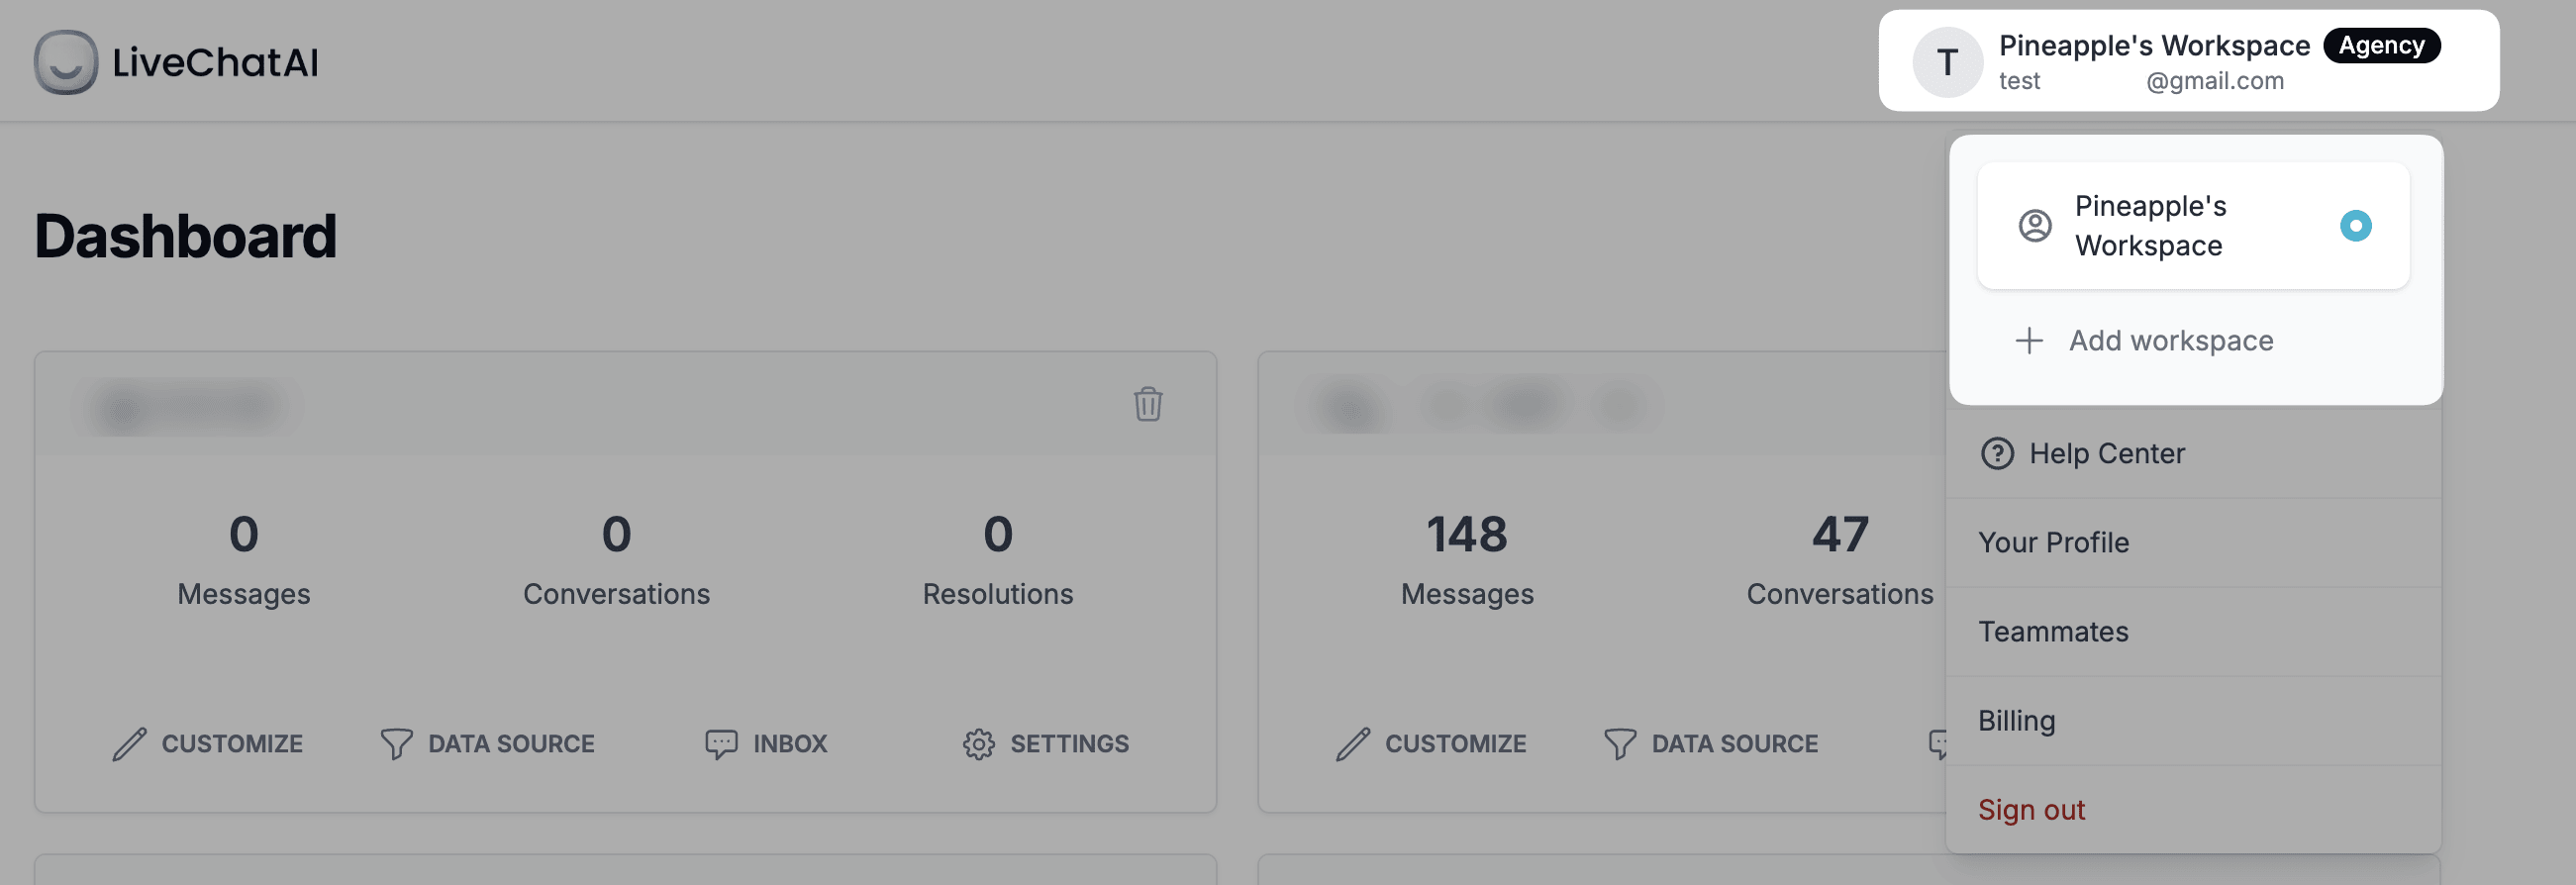
- Log in to your Agency Workspace.
- Navigate to the Profile section.
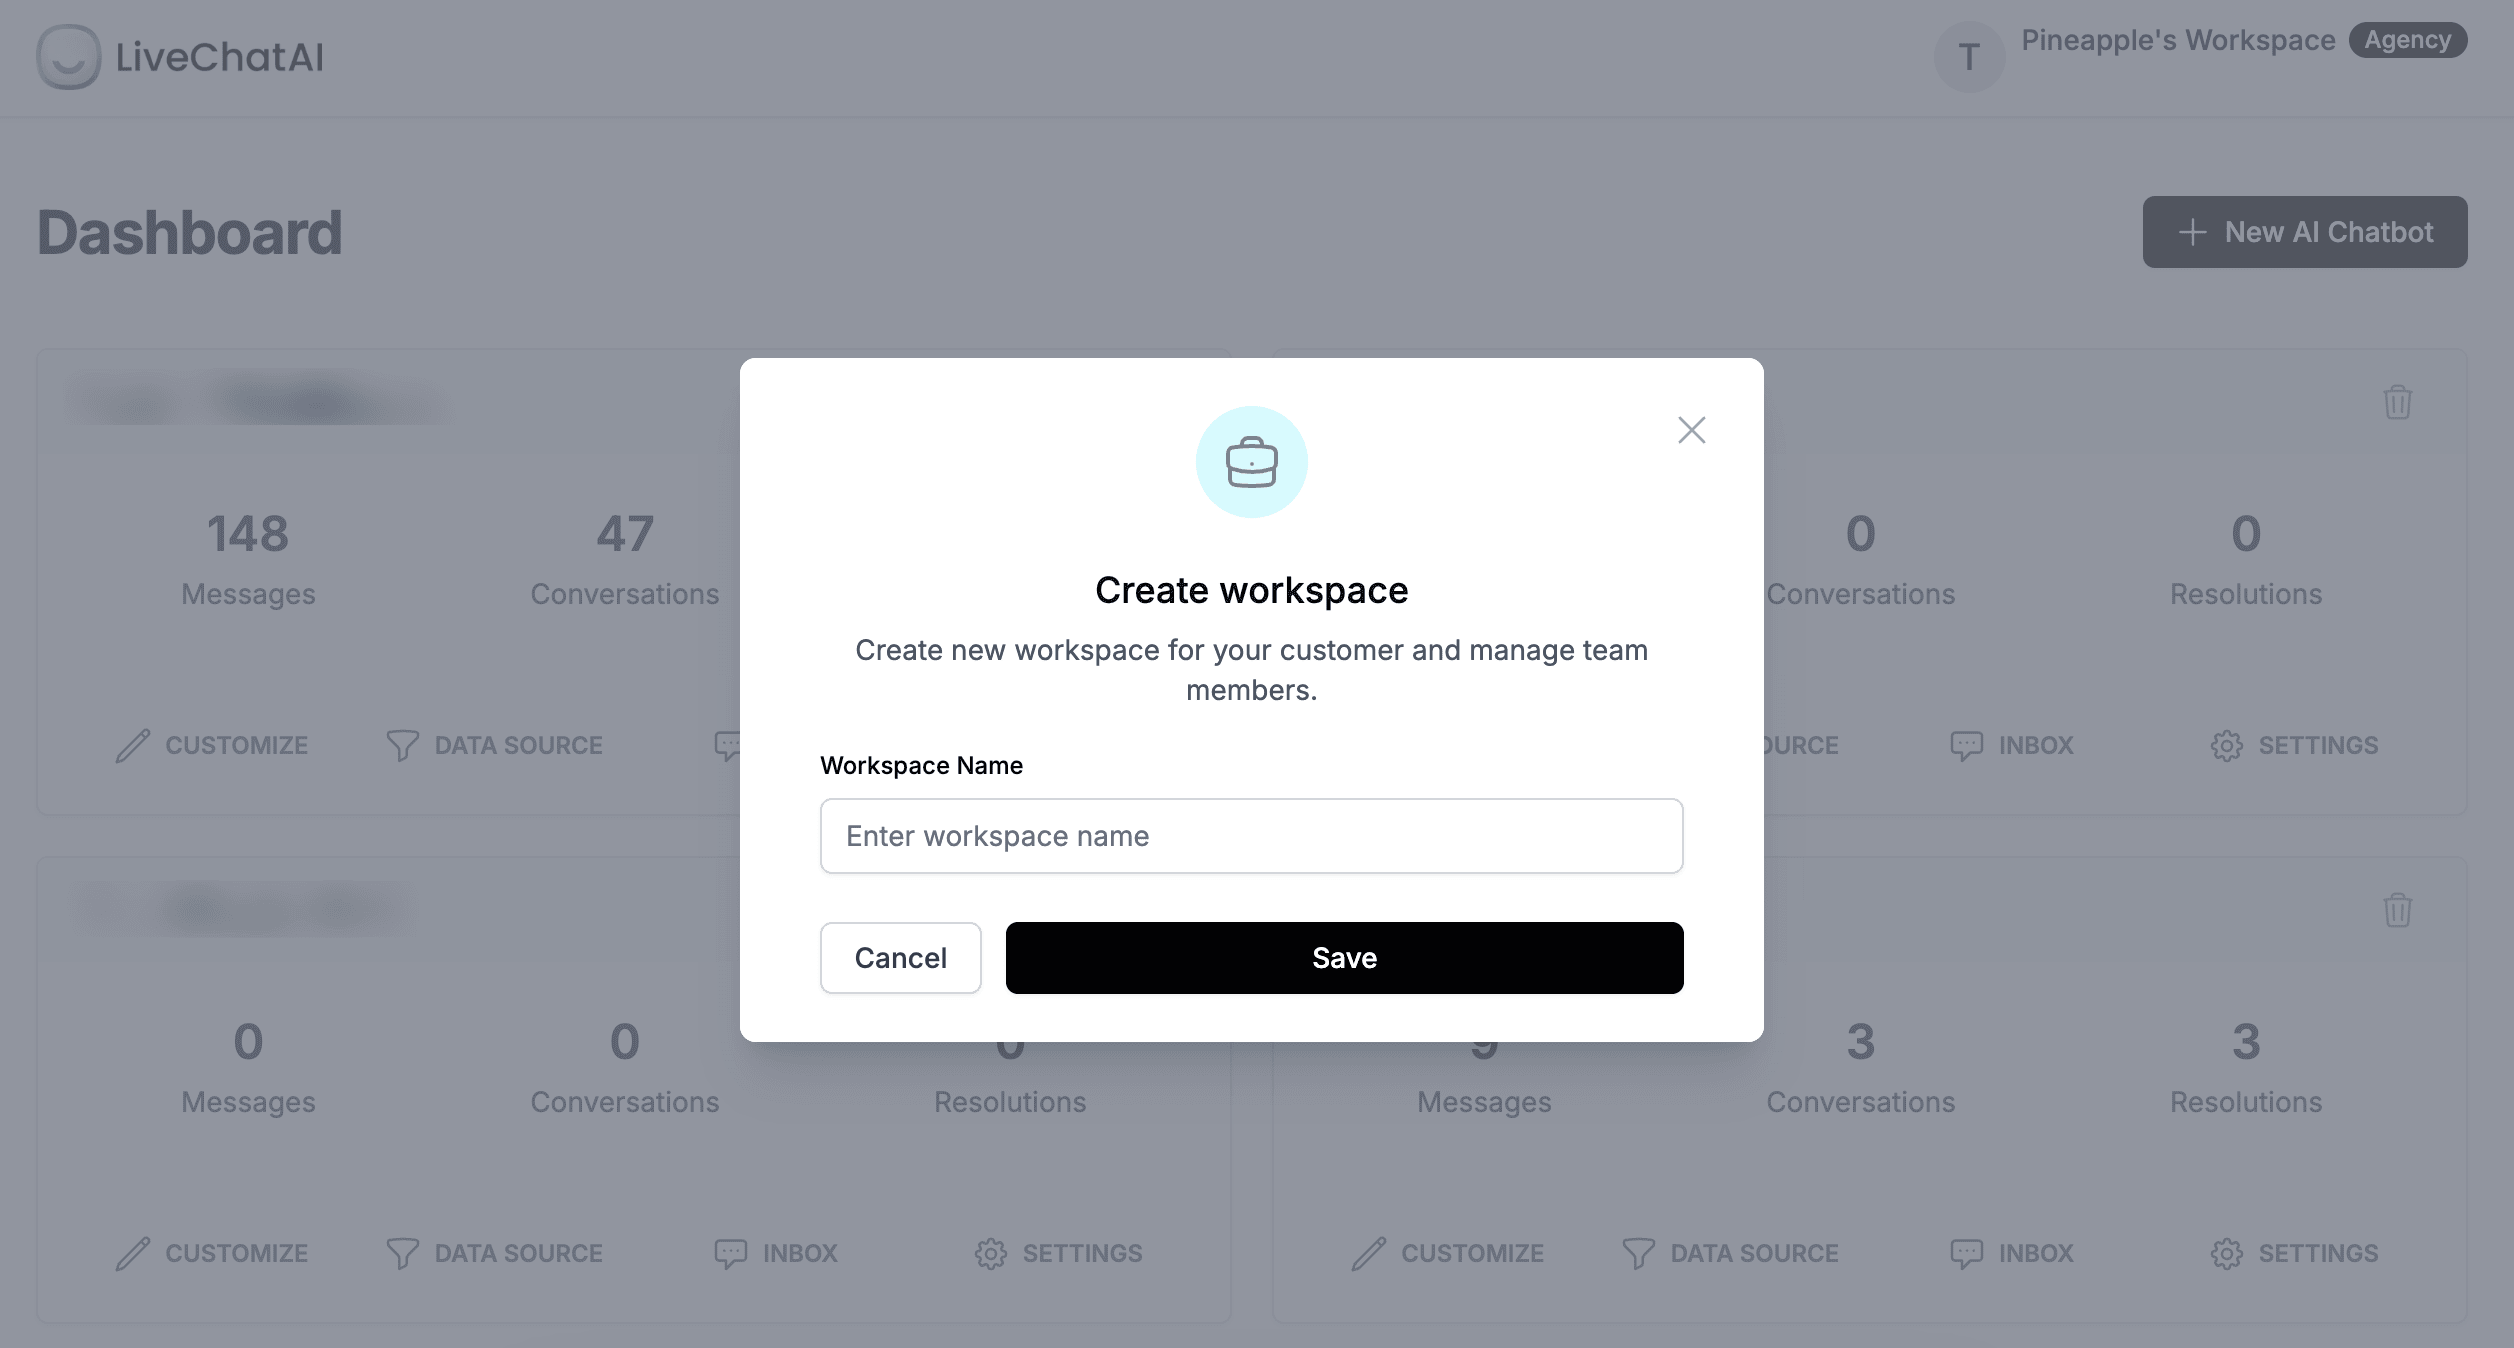
- Click on the Add workspace to add your client to your workspace by providing a name.

4. Add a team member for the sub-workspace if you have a contact person for the related business.
5. Allocate resources (data sources, seats, message quota) as needed.